
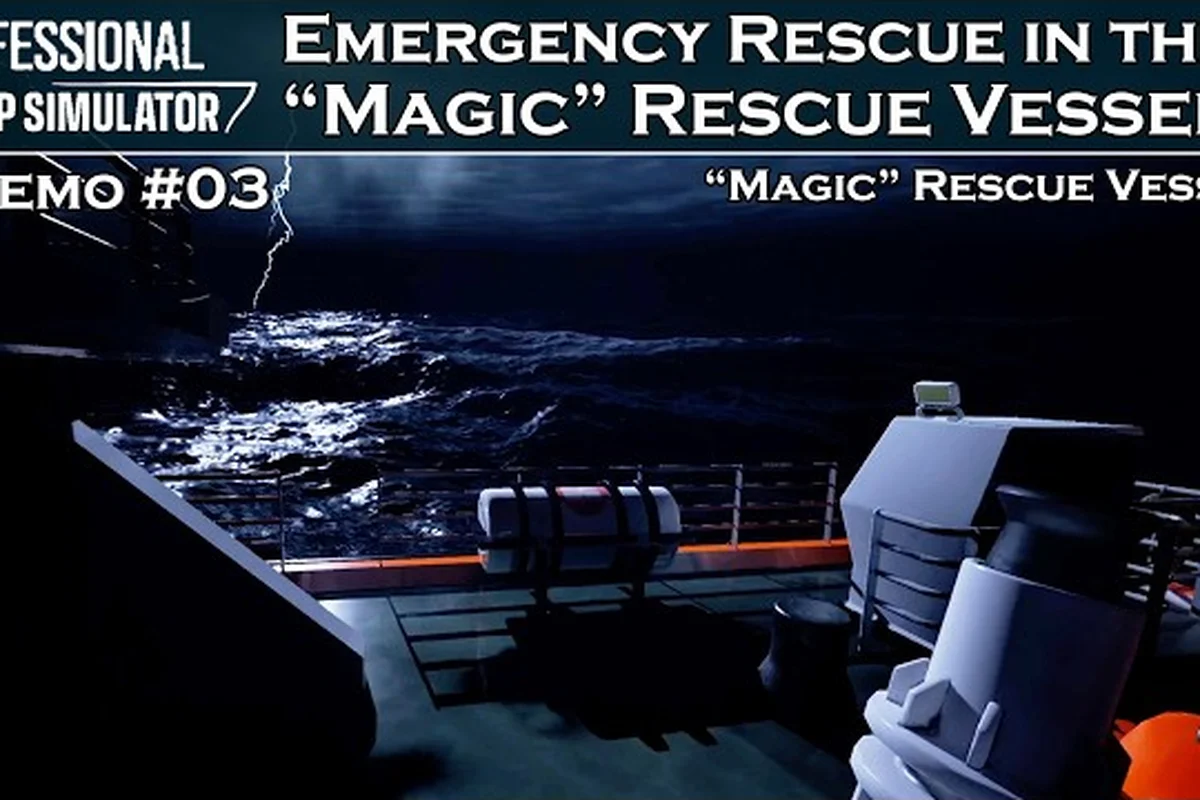
Professional Ship Simulator view modes determine how you experience every nautical scenario, from threading a harbor channel to capturing a sunset departure shot. Mastering the bridge, bow, stern, and external cameras, plus photo mode, multi-monitor layouts, and surround sound, transforms routine sailing into a fully immersive bridge operation that rewards both practical seamanship and visual creativity.
Default Cameras and View Hotkeys in Professional Ship Simulator
The default camera suite in Professional Ship Simulator is built around four core viewpoints that mimic how a real seafarer or shore-side observer would watch a vessel move. According to the official Viewmodes knowledge base, every ship comes equipped with External view, Stern view (the back of the ship), Bow view (the front), and Bridge view, all of which can be rotated, zoomed, and locked to the vessel heading. These four cameras form the foundation of professional ship simulator view modes and are what most new captains learn within their first sailing session.
The Four Core Viewpoints
Each default viewpoint serves a distinct navigational or cinematic purpose. External view acts as the free-roaming spectator camera, useful for evaluating your wake, drift, and approach angles during docking. Stern view sits at the aft, ideal for monitoring your prop wash, rudder response, and any trailing traffic in tight channels. Bow view anchors the camera forward, giving a pilot-house perspective on the waterline and any oncoming traffic, while Bridge view places you inside the wheelhouse, surrounded by instruments, charts, and operable controls.
| Viewpoint | Best Use Case | Hotkey | What You See |
|---|---|---|---|
| External | Docking analysis, photo staging | F1 | Free camera anywhere in 3D space |
| Stern view | Rudder/propeller check, traffic astern | F2 | Aft deck and trailing wake |
| Bow view | Inbound traffic, mooring alignment | F3 | Foredeck and forward horizon |
| Bridge view | Realistic piloting, instrument reading | F4 | Inside wheelhouse, clickable panels |
Cycling, Locking, and Free-Look Controls
You can cycle through the available viewpoints by pressing V (forward) or Shift + V (backward), which is faster than tapping F1–F4 when you need to scan a situation quickly. Ctrl + V locks the current view to the ship's heading, so the camera rotates with the bow as you turn, while holding the right mouse button lets you drag the viewport in any direction without losing your position relative to the vessel.
| Shortcut | Function | Practical Benefit |
|---|---|---|
| V | Cycle to next viewpoint | Quick situational scan |
| Shift + V | Cycle to previous viewpoint | Reverse navigation of cameras |
| F1–F4 | Direct jump to specific viewpoint | Instant switch during docking |
| Ctrl + V | Lock view to ship heading | Keeps horizon steady in heavy weather |
| Hold RMB | Free-look drag | Inspect hull, instruments, or scenery |
Each of these four main viewpoints also has eight view presets, and you can save a custom angle at any time by pressing Ctrl + F1 (for preset 1) through Ctrl + F8 (for preset 8). This preset system is one of the most underrated professional ship simulator view modes, because it lets you create dedicated cameras for recurring tasks such as departure shots, narrow-channel approaches, or specific instrument clusters on the bridge.
Presets, Photo Mode, and Cinematic Capture
Photo mode elevates the standard view modes into a creative toolkit for screenshots, community showcases, and career-mode milestone shots. While the base cameras give you tactical control, Professional Ship Simulator photo mode adds time-of-day, weather, depth-of-field, and framing tools that the live piloting view cannot provide. Players who run virtual ship tours or career-mode portfolios report that combining saved presets with photo mode saves a tremendous amount of time when revisiting the same port under different conditions.
Saving and Recalling View Presets
The preset system works in two stages: position and then quick-recall. First, frame your shot using free-look (hold RMB) and any combination of zoom or heading lock. Then press Ctrl + F1 through Ctrl + F8 to store the current camera position under that preset slot. To recall any saved preset later, simply press the corresponding F1–F8 key (without Ctrl). This means the function keys double up: F1–F4 are default viewpoints, while F5–F8 are user slots, and Ctrl + F1–F8 are the save commands for those user slots.
| Preset Slot | Save Key | Recall Key | Typical Purpose |
|---|---|---|---|
| Slot 1 | Ctrl + F1 | F1 (when in user mode) | Departure angle from breakwater |
| Slot 2 | Ctrl + F2 | F2 (when in user mode) | Bow-on harbor entrance |
| Slot 3 | Ctrl + F3 | F3 (when in user mode) | Stern wake at cruise speed |
| Slot 4 | Ctrl + F4 | F4 (when in user mode) | Bridge instrument cluster |
| Slots 5–8 | Ctrl + F5–F8 | F5–F8 | Custom scenarios, photo staging |
Photo Mode Tools and Workflow
Professional ship simulator photo mode exposes sliders for time of day, cloud cover, fog density, focal length, and aperture, which together let you recreate dawn departures, golden-hour arrivals, or moody overcast crossings. The recommended workflow is to first stage your ship in a quiet stretch of water, switch to external or preset view, open photo mode, and then adjust lighting and depth-of-field while watching the live preview. Players who publish screenshots on community hubs often combine this with a custom preset saved earlier, so the camera angle is already framed before they begin tweaking atmospheric settings.
A practical example: in a coastal departure scenario, save preset slot 1 as a quartering view from the breakwater. Then open photo mode, set time to 05:45 local, lower fog to 10%, and raise focal length to 85 mm. The resulting shot captures the ship against a soft sunrise without requiring post-processing, which is exactly how community showcase galleries build their consistent visual identity.
Multi-Monitor Setups and Field of View
For captains who want their wheelhouse to wrap around them, Professional Ship Simulator multi monitor support extends the bridge view across two or three displays, providing a panoramic piloting experience that mirrors a real ship's forward and side windows. This setup is especially popular among streamers, naval architecture students, and anyone running a dedicated simulator cockpit at home. Multi-monitor also changes how you use the default view modes, because each screen can hold a different camera angle simultaneously.
Configuring Multi-Monitor in the Sim
To enable multi-monitor, open the Display settings, select Multi-Display Mode, and choose between Horizontal Span (two or three side-by-side panels) and Surround (curved or angled bezel correction). Once activated, the bridge view stretches across the combined resolution, while external, bow, and stern views remain anchored to the primary monitor unless you reassign them. The performance impact is meaningful: spanning two 1440p panels roughly doubles GPU load, so community testing suggests keeping medium-to-high settings rather than ultra when running three screens.
| Display Mode | Best For | Resolution Behavior | GPU Cost |
|---|---|---|---|
| Single monitor | Standard play | Native resolution | Baseline |
| Horizontal span (2 screens) | Wide bridge view | Combined width | ~1.8x baseline |
| Horizontal span (3 screens) | Panoramic piloting | Combined width | ~2.6x baseline |
| Surround (3 screens) | Bezel-corrected immersion | Curved projection | ~2.7x baseline |
Multi-Monitor FOV and Bezel Setup
Field of view (FOV) becomes critical the moment you add a second or third monitor, because the wrong value will either crop your side screens or stretch the bridge view unnaturally. Community testing on triple 27-inch setups recommends an FOV between 60 and 75 degrees per screen, with bezel compensation enabled in the display profile so that instrument panels do not appear warped near the screen edges. The official Viewmodes page does not prescribe a specific FOV, but it confirms that the camera system supports flexible aspect ratios, which is what enables multi-monitor in the first place.
If you are moving from single-monitor to a multi-display rig, the practical steps are: (1) set Windows display mode to Extend, (2) enable multi-display in the sim's Display settings, (3) calibrate bezel width in millimeters, and (4) walk through a docking scenario to verify that the bow and side windows line up correctly with your seated head position. Career-mode players often link this configuration with their overall progression planning, which is why resources like the career mode overview frequently mention multi-monitor as a long-term investment for serious pilots.
Audio Settings, Surround Sound, and Language
The audio layer in Professional Ship Simulator is just as configurable as the visual layer, and it carries information that pure visual cues cannot: engine RPM, bow thrusters, foghorn direction, nearby traffic, and ambient water conditions. Tuning Professional Ship Simulator audio settings properly means balancing in-cockpit instrument feedback with environmental audio, and pairing that with Professional Ship Simulator surround sound for true spatial awareness. The game's language layer, meanwhile, lets non-English speakers localize menus, voice prompts, and tutorial text without losing any simulation fidelity.
Core Audio Settings Explained
The audio menu exposes separate volume sliders for Master, Effects, Engine, Ambient, Voice / Radio, and UI. Players running a wheel speaker setup typically raise Engine to 75–85% so the rumble is felt, lower Ambient to 40–50% to avoid masking distant fog horns, and keep Voice/Radio around 60% for clear VHF reception. A common rookie mistake is maxing out Master, which causes clipping and makes it harder to localize sound during close-quarters maneuvering.
| Audio Channel | Suggested Range | Why It Matters |
|---|---|---|
| Master | 70–90% | Headroom for dynamic peaks |
| Engine | 75–85% | Feel of propeller load and RPM |
| Ambient | 40–55% | Open-water atmosphere without masking |
| Voice / Radio | 55–70% | Clear VHF and harbor control |
| Effects | 60–75% | Bow thrusters, alarms, winches |
| UI | 30–45% | Menu clicks, alert tones |
Enabling Surround Sound
Professional ship simulator surround sound support spans from stereo headphones through 5.1 and 7.1 speaker rigs, and it is one of the most underutilized immersion tools in the sim. With surround enabled, you can hear a ferry approaching from your starboard quarter before it appears on radar, or pinpoint a tugboat's horn across a busy harbor. To enable it, select your audio device in the Audio Output menu, choose 5.1 or 7.1 as the speaker configuration, and then run the built-in channel test to verify that each speaker is mapped correctly. Head-tracking via OpenVR or native XR integrations can also feed into this pipeline if you are running a simpit.
Players who upgrade from stereo to 5.1 or 7.1 consistently report that docking becomes noticeably easier, because the audio cues fill the gaps that the visible bow thruster wash cannot convey. Combined with the bridge view locked to ship heading, surround audio essentially gives you ears in every direction, which is a substantial advantage during night departures or fog-bound transits.
Language Settings and Localization
The language menu covers Interface, Subtitles, Voice / Radio Calls, and Tutorial Text, and each can be set independently. This is useful for bilingual players who prefer English voice prompts but want their menu and charts in their native language. The localization team has supported German, French, Spanish, Italian, Portuguese (Brazilian), Polish, Russian, Chinese (Simplified and Traditional), Japanese, and Korean in recent patches, with occasional community contributions adding additional translations.
| Language Field | Default Behavior | When to Change |
|---|---|---|
| Interface | Follows game installation locale | Set to native language for clarity |
| Subtitles | Match interface language | Useful when voice language is different |
| Voice / Radio | Match interface language | Switch to English for international VHF practice |
| Tutorial Text | Match interface language | English recommended for first playthrough |
For new captains building their overall piloting foundation, it is worth reading the beginner guide 2026 alongside these view mode and audio settings, because the two work together: the view lets you see, the audio lets you hear, and the language layer keeps the menus understandable throughout your early hours on the bridge.
Frequently Asked Questions
How do I switch between Professional Ship Simulator view modes quickly during docking?
Press V to cycle forward or Shift + V to cycle backward through the four default viewpoints. For instant access, bind F1 (External), F2 (Stern), F3 (Bow), and F4 (Bridge). You can also save eight custom presets with Ctrl + F1–F8 and recall them with plain F1–F8 once you are in user-slot mode, which is the fastest workflow during tight harbor approaches.
Does Professional Ship Simulator photo mode support depth of field and time of day?
Yes. Photo mode exposes sliders for time of day, cloud cover, fog density, focal length, and aperture. The recommended workflow is to stage the ship in a calm area, save a preset for your preferred angle, open photo mode, then tweak the lighting and depth-of-field sliders while watching the live preview. This is how community galleries build consistent visual identity across multiple screenshots.
What are the recommended settings for Professional Ship Simulator multi monitor?
Use Horizontal Span for flat triple-screen rigs or Surround for bezel-corrected curved setups, set FOV to 60–75 degrees per screen, and enable bezel compensation in the display profile. Performance scales roughly linearly: two 1440p panels cost about 1.8x baseline GPU load, and three panels cost about 2.6x. Medium-to-high graphics settings are usually the right trade-off when running three screens.
How do I enable Professional Ship Simulator surround sound and which speaker layout works best?
Open the Audio menu, select your output device, and choose 5.1 or 7.1 as the speaker configuration, then run the built-in channel test. A 5.1 layout is the most common sweet spot for simpit users, while 7.1 adds rear-fill speakers that help during open-ocean transits. Head-tracking software can further refine directional audio if you are running VR or a tracked head position.
Where do I change Professional Ship Simulator language settings without restarting the sim?
The language menu is accessible from the main settings screen and is applied in real time, so you can switch Interface, Subtitles, Voice/Radio, and Tutorial Text independently without restarting. The first playthrough is usually easier in English because most community guides reference English menu terms, but bilingual players often keep voice in English and switch the interface to their native language for chart and instrument clarity.