
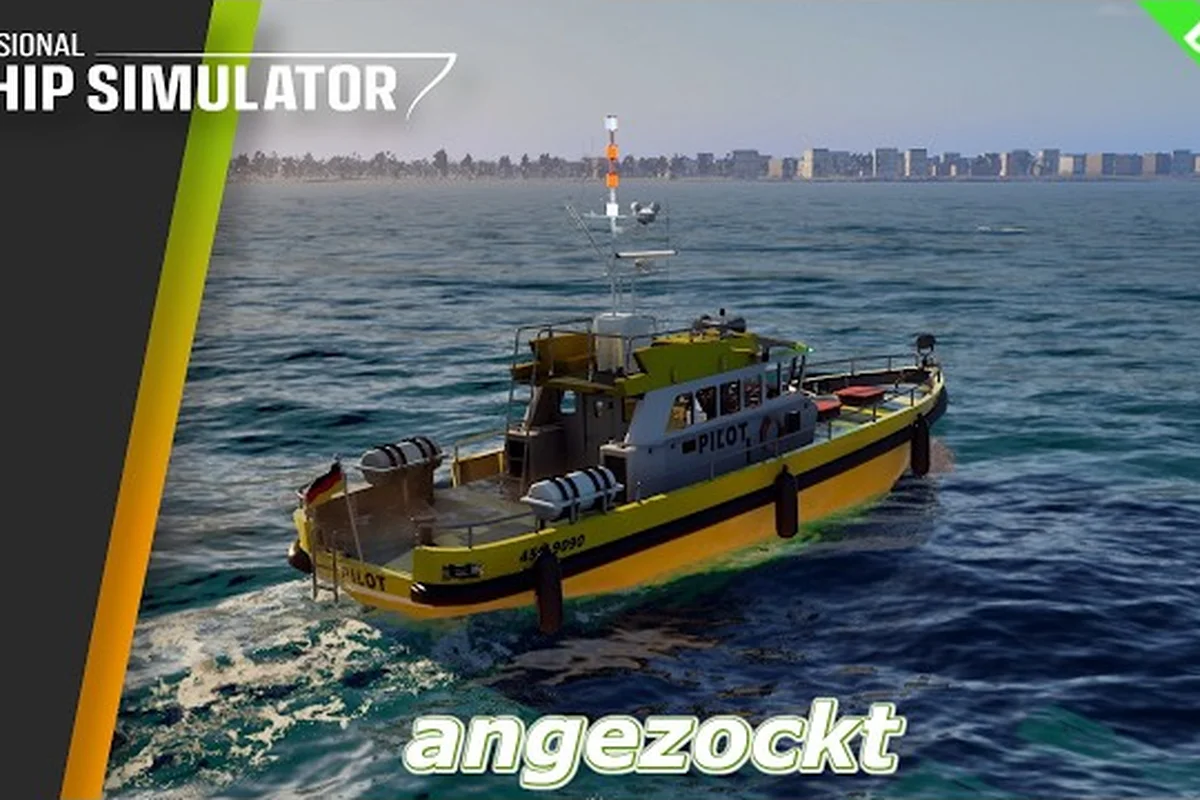
Tuning your Professional Ship Simulator controls is the single biggest lever you have over how the game actually feels. The default layouts cover the basics, but harbor approaches, dynamic positioning, and tug escort jobs all punish sloppy input. This guide walks you through every control surface the sim exposes — keyboard, gamepad, joystick, HOTAS, and throttle — with the exact binding philosophy that experienced captains use on PC, and how each input type maps to real bridge functions.
According to the Professional Ship Simulator on Steam, the title ships with deep input customization from day one, so the work below focuses on the practical layer: what to bind, what to ignore, and how each device class changes your piloting style.
Understanding the Professional Ship Simulator Controls Architecture
The sim's input system is layered, which is why a clean overview matters before you start remapping. Three concentric systems govern every command you can issue from the bridge: an axis layer (rudder, throttle, telegraph, bow thruster), a discrete button layer (horn, view cycle, autopilot modes, radio menus), and a context layer (per-ship overrides, tug-specific toggles, wheelhouse presets). Each axis can be driven by a key, a gamepad stick, a HOTAS axis, or a mouse delta, and each can be inverted, scaled, and dead-zoned independently.
Players new to the sim often assume a single "control scheme" exists, but the title actually loads per-ship-class bindings. A 300 m container vessel does not behave the same on a gamepad as a 40 m harbor tug, and the binding template changes accordingly. The official knowledge base describes how, on the main menu under Options → Input, you create a named controller setup, assign up to 70 buttons plus a dozen axes, and then link the profile to specific ship classes via the "Assign to ship" function. This separation is the foundation that makes HOTAS, gamepad, and keyboard coexistence possible.
Input Devices the Sim Recognizes
| Device Class | Typical Use Case | Axes Exposed | Buttons Exposed | Plug-and-Play |
|---|---|---|---|---|
| Keyboard + Mouse | Wheelhouse precision, UI navigation | 4 (mouse delta + scroll) | 104+ | Full |
| Xbox / Generic Gamepad | Casual piloting, couch play | 4 (sticks + triggers) | ~14 | Full |
| Joystick (single) | Rudder-first handling | 3 (X/Y/Z or twist) | 12+ | Full |
| HOTAS (Joystick + Throttle) | Realistic bridge emulation | 6+ (combined) | 20+ | Full |
| Steering Wheel + Pedals | Heavy tugs, ferries | 3 (wheel + 2 pedals) | Varies | Partial |
Keybind vs. Axis vs. Context Layer
| Layer | Examples | Best Bound To | Notes |
|---|---|---|---|
| Axis | Rudder, telegraph, bow thruster | Joystick X/Y, throttle slider, mouse | Always analog, requires dead-zone tuning |
| Keybind | Horn, view cycle, AP mode toggle | Keyboard, gamepad buttons, HOTAS hats | Discrete, fastest muscle-memory build |
| Context | Tug line release, anchor drop, radio menu | Shift-modified key, paddle switch | Only fires on specific ships/jobs |
The axis layer is where Professional Ship Simulator hotas and joystick pilots spend 80% of their binding time. The keybind layer is where the gamepad layout earns its keep, and the context layer is where the keyboard still wins, because modified keys (Ctrl, Shift, Alt) give you cheap access to ship-specific commands without burning gamepad face buttons.
Professional Ship Simulator Keybinds for Keyboard Captains
Keyboard play is not a compromise in this sim — it is a legitimate top-tier path, especially for jobs that demand rapid camera switching and menu navigation. The default Professional Ship Simulator keybinds already cover about 90% of bridge commands, so the real work is in the last 10%: modifier keys, mouse delta axes, and context toggles that the default profile leaves unbound.
A common pattern reported by players is to keep WASD reserved for view-orbit, assign QE to rudder increments, and dedicate the numpad to telegraph and thruster steps. This frees the left hand to stay on steering while the right hand sweeps the view, talks on the radio, and toggles autopilot modes. If you want a head start on the keyboard side, the keyboard controls overview breaks the default layout down by function.
Default Keyboard Bindings Worth Keeping
| Action | Default Key | Why It Works |
|---|---|---|
| Cycle viewpoint | V | Fast camera swap during docking |
| Reverse viewpoint | Shift + V | Returns to previous camera |
| Fix view to heading | Ctrl + V | Locks external cam to ship bearing |
| Bow view | F3 | Most-used approach angle |
| Bridge view | F4 | First-person wheelhouse |
| Save view preset | Ctrl + F1–F8 | Eight presets per viewpoint |
| Autopilot mode toggle | X5 key (configurable) | Cycles Manuel → Heading → Waypoint |
The view cycle chain alone is worth internalizing. The sim exposes four default viewpoints — external, stern, bow, and bridge — each with eight preset slots that you can save on the fly. Experienced pilots save one preset per recurring job: "Pilot pickup at pier 7," "Tug assist stern," "Anchor drop approach." That single habit removes dozens of camera tweaks per shift.
Recommended Keyboard Remaps
| Action | Suggested Key | Reason |
|---|---|---|
| Rudder ±5° | Q / E | Incremental heading corrections |
| Telegraph up/down | R / F | Fine engine orders without leaving wheel |
| Bow thruster left/right | T / G | Sideways dock work |
| Horn (short) | Space | Universal muscle memory |
| Horn (long) | B | Signal-five pattern |
| Radio menu | Tab | Quick comms without mouse |
| Pause | P | Mid-maneuver freeze |
These remaps are the most common starting point because they cluster the bridge commands under the left hand while the right hand stays on the mouse for view orbit and UI. If you have a mouse with extra buttons, bind Mouse 4 to "fix view to heading" and Mouse 5 to "cycle view preset forward" — both become reflex inputs within a session or two.
Professional Ship Simulator Gamepad Layouts
A clean Professional Ship Simulator gamepad layout is the difference between "playable on a pad" and "actually fun on a pad." The sim reads both sticks, both triggers, and the full face button cluster, which is more than enough for tug and ferry work. The trick is mapping the triggers to throttle and bow thruster, the right stick to view orbit, and reserving the d-pad for autopilot and radio.
The community has converged on a layout where left stick = rudder, right trigger = throttle forward, left trigger = throttle reverse, right stick = camera orbit, and the A/B/X/Y cluster = horn, view cycle, autopilot, radio. This works because each thumb lives on one job, and the triggers fall naturally under the index fingers for smooth telegraph control. If you want the full per-button map, the gamepad layout deep dive covers it ship by ship.
Standard Gamepad Binding Template
| Input | Function | Notes |
|---|---|---|
| Left stick X | Rudder | Linear, no dead-zone at center |
| Left stick Y | (unused) | Save for view if no right stick |
| Right stick X | Camera yaw | Smooth orbit |
| Right stick Y | Camera pitch | Vertical framing |
| Right trigger | Throttle + | 0–100% forward |
| Left trigger | Throttle − | 0–100% reverse |
| A | Horn (short) | Quick blast |
| B | View cycle | V equivalent |
| X | Autopilot mode | Cycles AP states |
| Y | Radio menu | Opens comms panel |
| LB / RB | View preset −/+ | Cycles saved presets |
| D-pad Up/Down | Bow thruster | Sideways push |
| Start | Pause | Mid-job freeze |
Gamepad vs. Keyboard: When Each Wins
| Scenario | Better Device | Why |
|---|---|---|
| Docking a 300 m container vessel | Keyboard + Mouse | Precision view orbit |
| Tug escort in open water | Gamepad | Analog throttle + bow thruster on triggers |
| Pilot pickup at speed | Gamepad | Hands stay on sticks for rudder/thruster |
| Menu-heavy salvage job | Keyboard + Mouse | Faster UI navigation |
| Anchoring in current | Keyboard | View presets + context toggles |
| Casual free-roam | Gamepad | Lowest friction, couch-friendly |
The single biggest mistake pilots make on a gamepad is leaving the camera on the right stick with a heavy dead-zone. Set the inner dead-zone to about 8% and the outer to 95% so small stick deflections move the camera slowly while full deflection snaps to fast orbit. This matches how the bridge view actually pans in real life and stops the camera from feeling twitchy during slow approaches.
Professional Ship Simulator Joystick and HOTAS Profiles
This is where the sim shines. A Professional Ship Simulator joystick setup — especially a Professional Ship Simulator hotas rig with a separate Professional Ship Simulator throttle quadrant — gives you the closest thing to a real bridge feel that the game offers. The axis separation alone is transformative: rudder on the stick X, telegraph on the throttle slider, bow thruster on a rotary knob, and view orbit on a hat switch. Every input lives under a different muscle, which is exactly how real pilots train.
The official knowledge base confirms that the input system accepts up to a dozen axes per profile, which is more than enough for a twin-stick HOTAS plus rudder pedals. If you have pedals, bind them to independent bow thruster (toes left/right) so your feet handle sideways push while the stick handles heading. The separation makes complex docking maneuvers noticeably easier because rudder, throttle, and thruster are no longer fighting for the same hand.
HOTAS Binding Template (Joystick + Throttle)
| Device | Input | Function | Sensitivity Tip |
|---|---|---|---|
| Joystick | X axis | Rudder | Linear, full deflection = 35° rudder |
| Joystick | Y axis | (optional) view pitch | Inverted feel |
| Joystick | Twist (Z) | Bow thruster | Center detent at 0% |
| Joystick | Trigger | Horn (short) | Index finger reflex |
| Joystick | Hat Up/Down | View preset cycle | Quick framing |
| Joystick | Hat Left/Right | Autopilot mode | Tactile feedback |
| Throttle | Slider | Telegraph | Logarithmic curve recommended |
| Throttle | Wheel | Fine throttle adjustment | Final 10% precision |
| Throttle | Pinky switch | Astern telegraph | One-click reverse |
| Throttle | Button 1 | Radio menu | Thumb reach |
| Throttle | Button 2 | Anchor drop | Tug/ferry context |
| Throttle | Button 3 | Tug line release | Tug context |
| Throttle | Button 4 | Pause | Emergency freeze |
Joystick Tuning Cheat Sheet
| Parameter | Recommended Value | Why |
|---|---|---|
| Rudder dead-zone | 2% | Removes stick drift at center |
| Rudder curve | Linear | Predictable response |
| Throttle curve | Logarithmic | Fine control at low speeds |
| Throttle dead-zone | 0% | Full range matters at harbor speeds |
| Bow thruster curve | Linear with center detent | Symmetric push both directions |
| View orbit curve | Exponential | Slow when precise, fast when sweeping |
The logarithmic throttle curve is the most common community recommendation because the sim's engine response at 0–20% throttle is the most sensitive range — that's where you creep off the pier, hold position against current, and inch into a slip. A linear curve gives you too much throw in that low range, while a log curve spreads the precision exactly where you need it.
Players who upgrade from a single joystick to a HOTAS almost always report the same pattern: the first session feels worse because the muscle memory is gone, but within two shifts the layout becomes invisible — your hands simply know where each command lives. The sim rewards that investment, especially on the larger ship classes where four simultaneous inputs (rudder, throttle, bow thruster, view) are routine.
Tuning, Saving, and Sharing Your Control Profiles
Once you have a layout that feels right, the final step is saving it correctly and applying it to the right ships. The sim's profile system supports multiple named setups, which means you can keep a HOTAS-heavy profile for serious bridge work and a gamepad profile for couch sessions, switching between them per ship class without remapping every session.
According to the official knowledge base, the flow is: enter a unique profile name on the Options → Input screen, complete the mapping, press Apply at the bottom of the mapping page, and then use the Assign to ship function to link the profile to each ship class you want it to govern. This is also where you decide which axes are inverted, which triggers are digital versus analog, and which commands require a modifier key to fire.
Profile Strategy by Player Type
| Player Type | Profile A | Profile B | Switching Trigger |
|---|---|---|---|
| Sim enthusiast | HOTAS + rudder pedals | Keyboard + mouse (UI work) | Manual toggle per shift |
| Casual player | Gamepad | Keyboard (menus) | Auto-detect device |
| Content creator | HOTAS (primary) | Gamepad (secondary cam) | Hotkey swap |
| Tug specialist | HOTAS (heavy thrust) | Gamepad (light jobs) | Per-ship assignment |
| Ferry/cruise pilot | Wheel + pedals | Keyboard (admin) | Class-based auto-switch |
Common Binding Mistakes to Avoid
| Mistake | Why It Hurts | Fix |
|---|---|---|
| Binding rudder to a digital button | No analog finesse | Move to stick X or keyboard QE |
| Leaving view on left stick | Fights rudder | Push view to right stick or mouse |
| Forgetting modifier keys | Eats face buttons fast | Use Shift/Ctrl for context commands |
| No center detent on bow thruster | Drifts sideways at rest | Enable hardware detent or curve it |
| Sharing one profile across all ships | Tug commands on a cruise ship | Use "Assign to ship" per class |
| Throttle on a digital key | Jerky speed changes | Bind to slider, wheel, or trigger axis |
The single highest-impact fix most pilots miss is assigning the profile per ship class rather than globally. A tug and a cruise ship have completely different command surfaces, and trying to share one binding map across both means you are always compromising. The sim supports per-class assignment natively, and using it correctly is what separates a "working" setup from a great one.
Frequently Asked Questions
What is the default Professional Ship Simulator controls setup for keyboard?
The default keyboard profile uses WASD for view orbit, V to cycle viewpoints, F1–F4 to jump to each default camera, X5 to cycle autopilot modes, and Shift/Ctrl modifiers for context commands. Most pilots keep this as a base and add Q/E for rudder increments, R/F for telegraph steps, and T/G for bow thruster.
Can I use a Professional Ship Simulator HOTAS setup for tugs and ferries?
Yes, and it is actually the recommended rig for those classes because tugs demand simultaneous rudder, throttle, and bow thruster input. A HOTAS rig separates those commands across two hands plus optional rudder pedals, which mirrors how real tug pilots operate. Bind the stick X to rudder, the throttle slider to telegraph, and a twist or rotary to bow thruster for the cleanest setup.
Does Professional Ship Simulator support a Professional Ship Simulator gamepad layout out of the box?
Yes, Xbox and generic gamepad layouts are plug-and-play. The sim auto-detects the device and loads a default mapping that uses the left stick for rudder, the right stick for camera, and the triggers for forward/reverse throttle. You can rebind every input on the Options → Input screen, and the binding accepts up to 70 buttons plus a dozen axes per profile.
How do I create and assign a Professional Ship Simulator throttle profile to a ship class?
Open Options → Input, enter a unique name for the profile, complete the axis and button mapping, press Apply at the bottom of the page, and then use the Assign to ship function to link the profile to each ship class you want it to govern. The same profile can be assigned to multiple ships, and you can keep several named profiles active in parallel.
Is a Professional Ship Simulator joystick enough without a separate throttle quadrant?
For most harbor jobs, a single stick is enough when you bind twist (Z-axis) to bow thruster and use the throttle trigger as telegraph. A dedicated throttle quadrant is a clear upgrade on larger vessels because it frees the stick hand for pure rudder work, but a single-joystick setup remains a fully viable entry point.