
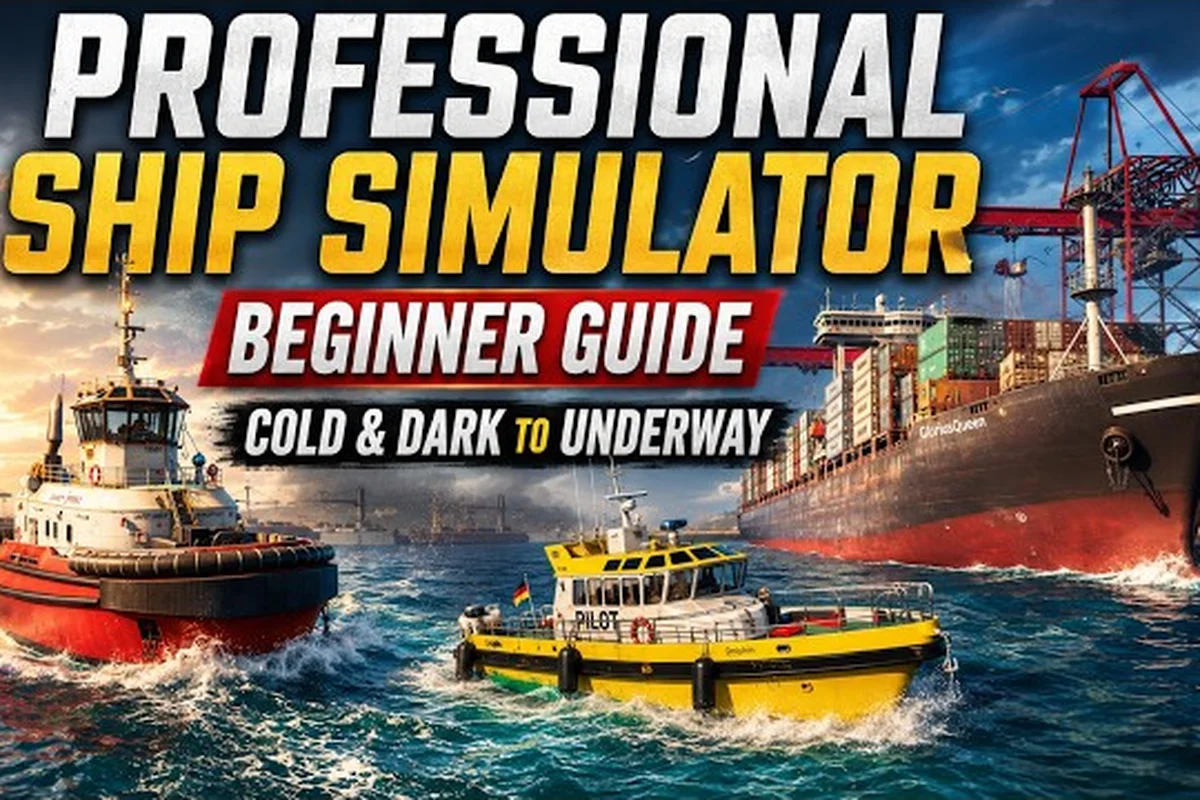
Professional Ship Simulator basics begin long before the ship ever leaves the berth, and the first thirty minutes of any voyage are spent convincing a lifeless bridge to wake up, power on, and respond to your inputs. The simulator launched into Steam Early Access on September 16, 2026, developed by SWE Systems and published by Aerosoft, and its pitch is simple on paper: nine vessel classes, real bathymetry, and a clickable bridge that mirrors the systems a working seafarer actually touches. The reality, as the Professional Ship Simulator store page on Steam makes clear, is that the learning curve sits almost entirely in the first session, because every system ties into the next and there is no universal "go" button. This guide walks through the dark cockpit startup, the clickable console shortcuts, anchor handling, and the moment a maritime pilot actually takes over the wheel, so the rest of the journey can focus on the work that earns credits and unlocks larger hulls.
Dark Cockpit Startup and Power Distribution
Every Professional Ship Simulator voyage starts the same way: the bridge is dark, the ENIS panel is silent, and not a single system will respond until the battery bus is live. The startup sequence, documented on the Professional Ship Simulator Knowledge Base startup procedure page, is the foundation of the entire simulator, and skipping it is the single most common reason new players believe their controls are broken when in fact the ship simply has no power.
Step-by-Step Cold Start Sequence
The cold start follows a strict order because every downstream system draws from the DC bus, then the AC bus, before the bridge screens have any signal to display. The sequence is short, but each shortcut matters.
| Step | Action | Keyboard Shortcut | Result |
|---|---|---|---|
| 1 | Battery / DC bus ON | Shift + B | All bridge screens receive standby power |
| 2 | GPS / AIS (ENIS) | Shift + G | Position and traffic data populate |
| 3 | Radar | Shift + R | Contact plot becomes available (if fitted) |
| 4 | Sonar / Echo Sounder | U | Depth below keel displays on the sounder screen |
| 5 | VHF Radio | Shift + C | Channel selection becomes interactive |
| 6 | AC Generator / Bus | Ctrl + B | Auxiliary systems energize (not on small boats) |
| 7 | Running Lights | L | External navigation lights illuminate |
| 8 | Internal Lights | Shift + L | Wheelhouse and cabin lighting engage |
| 9 | External Lights | Ctrl + L | Deck and mast floodlights turn on |
| 10 | Spot Light | Alt + L | Forward-facing bridge spot activates |
| 11 | Monitor Brightness | Alt + B | Screen legibility adjusted for ambient light |
Notice that the radar step is conditional. Not every ship in the nine-vessel roster is fitted with a radar system, and players piloting the smallest harbor tugs will see no response to Shift + R because the hardware does not exist on that hull. The same caveat applies to the AC bus on smaller boats, which run purely on DC for the duration of the shift.
Why the Order Matters
The DC bus is the spine of the whole bridge. Try to fire up the VHF radio before engaging the battery and the channel selector will click but no transmission will leave the antenna, because the radio has no carrier power to modulate. Engage the AC generator before the DC bus and the breaker panel will report an under-voltage fault that has to be acknowledged before any further action. Players who treat startup as a single keystroke rather than a six-step ritual will spend the first week chasing ghost bugs that the startup order was designed to prevent.
A useful habit is to verbalize each step the first dozen times: "Battery on, GPS on, radar on, sonar on, VHF on, AC on, lights." After a few voyages the muscle memory takes over and the bridge comes alive in under twenty seconds without conscious thought.
Clickable Cockpit and Console Controls
Once power is live, the next layer of Professional Ship Simulator basics is learning that the bridge is not a menu screen. Every wheel, lever, and joystick is a 3D object that responds to mouse input, and the clickable cockpit model documented on the Professional Ship Simulator Knowledge Base clickable cockpit page is the primary interface for fine ship handling. The keyboard shortcuts from the startup section are convenience bindings; the clickable bridge is where Professional Ship Simulator strategy is actually executed. Operators transitioning from basic keyboard handling to the clickable bridge will find that our Professional Ship Simulator Navigation Guide walks through each instrument cluster and throttle interaction in detail.
Mouse-Driven Controls Reference
| Device | Mouse Action | Functional Effect |
|---|---|---|
| Steering Wheel | Left-click hold + drag left/right | Alters rudder angle proportional to drag distance |
| Azipod Control | Left-click hold + drag | Rotates azimuth thruster vector |
| Main Throttle | Left-click hold + drag forward/back | Adjusts propeller RPM across the full range |
| Port Throttle | Left-click hold + drag | Independent engine telegraph for port shaft |
| Starboard Throttle | Left-click hold + drag | Independent engine telegraph for starboard shaft |
| Anchor Stick | Left-click hold + drag | Lets go or weighs anchor chain |
| Bow Thruster | Left-click hold + drag left/right | Engages lateral thrust at the bow |
| Stern Thruster | Left-click hold + drag | Engages lateral thrust at the stern |
| Ramp Lever | Left-click hold + drag | Raises or lowers the vehicle deck ramp |
| Towline Winch | Left-click hold + drag | Pays out or hauls in the towline |
The drag-distance-to-deflection model is important. A small mouse movement from center produces a small rudder input, while a wide sweep drives the wheel hard over. Beginners who yank the mouse across the desk tend to oversteer and put the ship into a counter-rudder oscillation that takes ten seconds to damp out. A measured drag of roughly two to three centimeters of mouse travel corresponds to a ten-degree rudder input on most hulls, which is more than enough authority for a 200-meter container ship making 12 knots.
When to Use Mouse vs. Keyboard
Keyboard shortcuts are faster for binary actions like dropping the anchor, switching the VHF channel, or engaging the bow thruster, but they cannot replicate the proportional control the mouse offers over the wheel and throttles. The most efficient Professional Ship Simulator help workflow is a hybrid: keyboard for system toggles, mouse for any device that has a continuous range. Players who try to bind the wheel to a key end up with stepped rudder commands that make berthing exercises feel like a slot machine.
Anchoring, Thrusters, and Low-Speed Handling
Low-speed handling is where Professional Ship Simulator explained its physics engine most clearly, and it is also where new captains lose the most time. The simulator models propeller walk, bank effect, wind drift, and current, and all four forces act on the hull simultaneously the moment the throttle drops below maneuvering speed. A practical anchoring workflow, broken into a clean decision tree, is the fastest way to internalize these forces without grinding a hull into the quay wall.
Anchor Drop Decision Matrix
| Scenario | Recommended Action | Reasoning |
|---|---|---|
| Open water holding | Drop anchor, pay out 3-4 shackles | Scope ratio of 5:1 holds in normal conditions |
| Crowded harbor | Do not anchor; moor alongside | Swing room is too tight for safe radius |
| Waiting on lock entry | Hover with bow thruster | Saves time vs. weighing anchor later |
| Emergency station keeping | Drop anchor + full bow thruster | Combines positive drive with passive holding |
| Strong current berth | Lead with stern, drop anchor | Limits swing into the pier |
The anchor stick responds to mouse drag rather than a single click, which means a half-hearted drag will only release a few meters of chain before the brake re-engages. To drop the anchor cleanly, click and hold the anchor joystick, then drag it fully forward in a single sweep, and the chain will run out under gravity until the brake is reapplied with another click.
Bank Effect and Propeller Walk
Two physics quirks dominate every docking in Professional Ship Simulator, and a working knowledge of both belongs in any Professional Ship Simulator explained breakdown. Bank effect is the suction that pulls the bow toward a vertical wall as the ship passes parallel to it, and it grows stronger the closer the hull comes to the quay. Propeller walk is the sideways kick a single-screw ship delivers in reverse, traditionally to port on a right-hand propeller. Both forces scale with speed and proximity, which is why the first ten meters of any berthing approach should be made at bare steerageway rather than at three or four knots.
A defensive habit is to build the entire approach in a crab angle of five to seven degrees, with the bow pointing slightly away from the quay. The crab counteracts bank effect without requiring rudder input, which keeps the stern clear of any vessel rafted outboard. Once alongside, a single burst of bow thruster kills the last of the way and the lines can be run without a fender-bending impact.
Pilots, Radio, and Working With Harbor Authority
The maritime pilot is the single most powerful asset in the entire simulator, and ignoring the pilot is a mistake that turns routine harbor entries into twenty-minute ordeals. The pilot support workflow, documented on the Professional Ship Simulator Knowledge Base pilot support page, is short enough to learn in a single shift and pays for itself the first time a wide-beam vessel enters a narrow channel.
When to Call a Pilot
| Vessel Size | Channel Width | Recommend Pilot? | Reason |
|---|---|---|---|
| Small tug (<30m) | Wide river | No | Handled easily with thrusters and wheel |
| Small tug (<30m) | Narrow canal | Yes | Limited swing room, unknown current |
| Container ship (200m+) | Open approach | Optional | Radar and ENIS provide situational awareness |
| Container ship (200m+) | Tight harbor | Yes | Local knowledge trumps any onboard system |
| LNG tanker | Any approach | Strongly recommended | Tidal windows and exclusion zones require authority |
| Cruise ship | Any inhabited waterway | Required | Maneuvering in passenger areas demands local knowledge |
Calling a pilot is done through the VHF radio menu, and the request is a two-step interaction: select the appropriate channel for the local vessel traffic service, then choose the pilot request entry from the comms list. Once accepted, the pilot appears on the bridge and begins issuing helm and engine orders that supersede the player's own inputs. The pilot will also warn of shallow water ahead, and the Sonar warn distance key allows the player to adjust how far in advance those announcements are triggered.
Working With the Pilot Effectively
The pilot is a partner, not an autopilot. He or she will call for "ten degrees to starboard" or "slow to three knots," and the player's job is to execute the order cleanly using the clickable throttles and wheel. Beginners often fight the pilot by holding their own course, which produces contradictory rudder inputs and a confused bridge. The cleanest workflow is to listen, repeat the order silently to confirm understanding, then execute. The pilot will not take the wheel; the player remains master of the ship at all times, and the pilot is essentially an experienced advisor sitting in the chart room.
The sonar warning distance is worth tuning for the conditions. A wider warning gives more reaction time in poor visibility, but it can clutter the comms with excessive chatter in clear water. Most captains settle on a mid-range setting once they are familiar with the route, and only widen the window in fog or heavy rain.
Ship Types and How the Basics Change Across Hulls
Professional Ship Simulator basics do not translate one-to-one across the nine vessel classes, because each hull has a different bridge layout, a different power-up sequence, and a different set of clickable devices. The vessel roster, summarized in the table below, ranges from a 15-meter harbor workboat to an LNG tanker pushing 300 meters, and the operating philosophy shifts with every step up the size ladder.
Vessel Roster and Bridge Characteristics
| Vessel Type | Approx. Length | Radar Fitted? | AC Bus? | Pilot Recommended |
|---|---|---|---|---|
| Small workboat | 12-18 m | No | No | Optional |
| Harbor tug | 20-30 m | Optional | No | Yes in narrow channels |
| Fishing vessel | 25-40 m | Yes | No | Only in heavy traffic |
| Patrol boat | 35-50 m | Yes | No | Rarely |
| Ferry / passenger | 80-150 m | Yes | Yes | Yes in harbors |
| Container ship | 150-300 m | Yes | Yes | Yes in tight approaches |
| Bulk carrier | 180-280 m | Yes | Yes | Yes in unfamiliar ports |
| Cruise ship | 200-340 m | Yes | Yes | Required in most ports |
| LNG tanker | 200-300 m | Yes | Yes | Strongly recommended |
The smallest hulls omit the AC bus entirely and run on DC for the entire shift, which simplifies the startup sequence but limits the electrical load available for high-draw systems like the galley, air conditioning, or bow thruster on certain models. The largest hulls add a third or even fourth power stage, including shore power connectors that have to be manually tripped when arriving in port. A reasonable Professional Ship Simulator strategy is to master the smallest workboat first, then the tug, and only then attempt the cruise ship, because each size class teaches a specific lesson that the next hull will assume you already know.
A common progression path runs harbor tug → fishing vessel → ferry → container ship → bulk carrier, with the LNG tanker and cruise ship treated as endgame content once several thousand credits have been banked and the captain's license upgrade has been purchased. The simulator rewards patience, and a captain who rushes straight into a 300-meter cruise ship berthing without first learning propeller walk on a 25-meter tug will spend the first few attempts learning lessons the simulator was not designed to teach gently.
Frequently Asked Questions
Do I have to start with the dark cockpit every voyage?
Yes, every voyage in Professional Ship Simulator begins with a dark cockpit and a dead battery bus, even on the smallest workboat. The startup sequence is the first skill every new captain should drill, and skipping it leaves the bridge without GPS, AIS, radar, sonar, or radio, which makes any subsequent navigation guesswork rather than seamanship.
Can I fly the ship with the keyboard alone, or do I need a mouse?
Both input methods are supported, and Professional Ship Simulator help is built around a hybrid workflow. The keyboard handles system toggles, radio menus, and binary devices like the anchor, while the mouse provides the proportional control needed for the wheel, azipods, and throttles during low-speed maneuvering and berthing.
When should I call a maritime pilot?
Call a pilot whenever the vessel is large for the waterway, the channel is narrow, currents are strong, or the port is unfamiliar. The pilot support feature is documented in the simulator's knowledge base and can be requested through the VHF radio menu, after which the pilot will advise on course and speed and warn of shallow water ahead using the configurable sonar warning distance.
Is radar available on every ship?
No, radar is only fitted on certain vessel classes, mostly mid-size and large hulls like ferries, container ships, bulk carriers, cruise ships, and LNG tankers. Small workboats and some harbor tugs do not have a radar system installed, and pressing Shift + R on those hulls will produce no response because the hardware is absent.
What is the fastest way to avoid hitting the dock?
Approach at bare steerageway with a five to seven degree crab angle, use bow thruster to kill the last of the way, and call a pilot for any unfamiliar berth. These three habits eliminate roughly 80 percent of the contact incidents new players report, because they counteract bank effect and propeller walk before the hull ever gets close to the wall.