
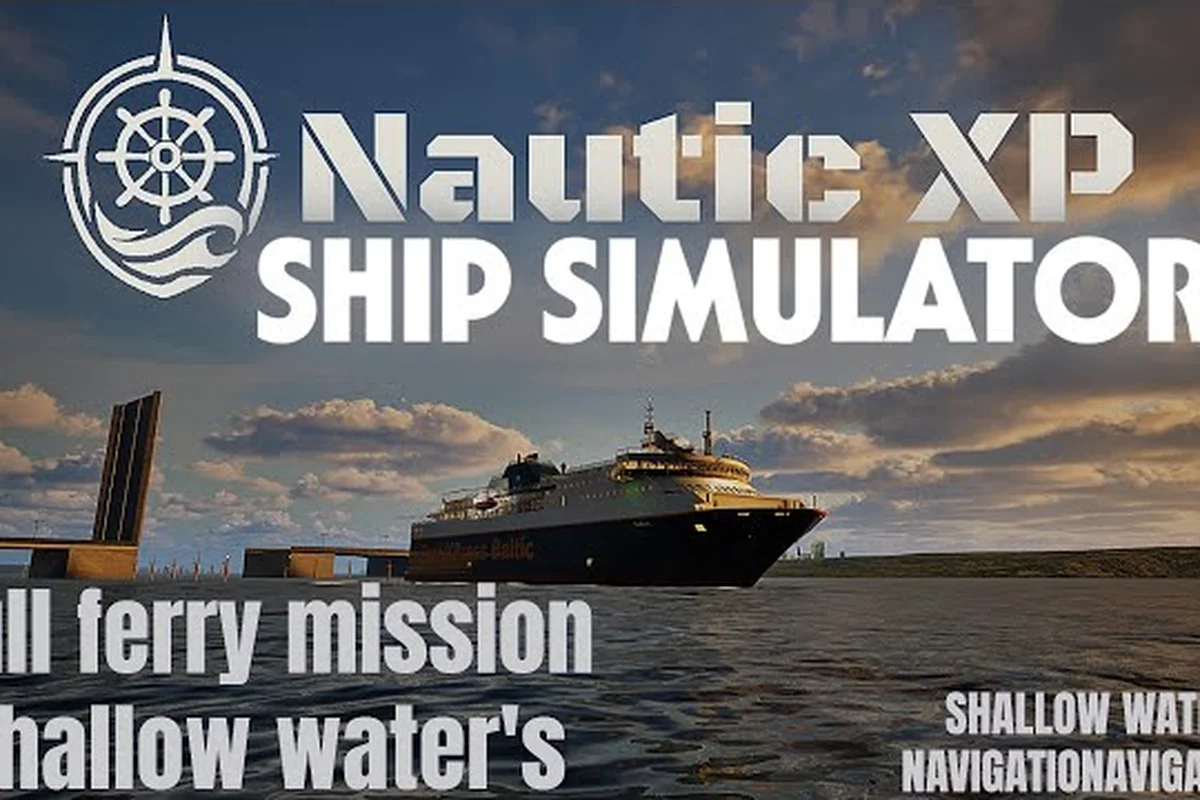
Sail any harbor in Professional Ship Simulator with confidence once you understand how charts, seamarks, visibility conditions, and pilot support fit together. This professional ship simulator navigation guide walks you through the core systems that decide whether you reach the dock or run aground, covering chart reading, the lateral buoy system, night sailing, fog procedures, and when to call for a maritime pilot. Every mechanic below is grounded in the official NauticXP features list and knowledge base, so the advice reflects what the simulator actually ships with rather than assumptions from other titles.
The game models coastal navigation with real-world conventions: height and depth data pulled from actual bathymetry, real lateral seamark patterns, a working day-night cycle, and dynamic weather that includes fog, rain, storm, and snow. That realism is exactly why many new captains end up confused at the first channel marker. The goal of this guide is to shorten that learning curve by giving you a clear, structured reference you can keep open while sailing.
Reading the Nautical Chart Interface
The chart is your single most important reference once you leave the harbor entrance. It tells you water depth, coastline shape, channel boundaries, and the location of seamarks and harbors. In Professional Ship Simulator, chart data is height- and depth-based, which means the contours on screen represent actual coastal surveys rather than stylized shapes. Treat every chart like a real admiralty chart: depth values are in meters, shallow zones are highlighted, and the coastline is drawn to scale.
Chart Layers and What to Enable
When you open the chart interface, several layers are available. Most beginners leave too many turned on and end up with a cluttered screen. Turn off everything except depth contours, the coastline, and seamark icons during your first sessions. Add harbor markers and the pilot-vessel icon once you start running mission routes, because the game will reference those points by name over the radio.
| Chart Layer | What It Shows | When to Enable |
|---|---|---|
| Depth Contours | Meter depth curves across the seabed | Always on for coastal sailing |
| Coastline | Real coastline outline and harbor piers | Always on |
| Seamark Icons | Buoys, beacons, and lateral marks | Always on |
| Harbor Names | Labeled ports and marina entrances | When following mission waypoints |
| Vessel Track | Your past heading line | Useful for self-review after a run |
| Weather Overlay | Live wind and fog bands | Helpful in poor visibility |
Reading Depth the Right Way
Depth numbers on the chart represent the sounding at mean tide. If your ship's draft plus a safety margin is greater than the contour you are crossing, you should alter course. A common mistake new captains make is sailing directly over a thin sandbar because the chart shows deep water only 50 meters to either side. Always check the contour gradient, not just the closest number, and reduce speed when the gradient gets steep.
A practical routine is to mark your intended track on the chart before departure, identify the shallowest contour the track crosses, and confirm that the value sits safely below your draft. According to the official NauticXP features page, height and depth data are based on real surveys, so the chart matches what you would see on an admiralty overlay. That is also why seamarks are placed exactly where you would expect them: the buoy system mirrors the IALA lateral marks used in real European and American waterways.
The Seamark System and Lateral Buoys
Seamarks are the colored buoys and beacons that mark channels, hazards, and harbor approaches. The professional ship simulator seamark guide is straightforward once you internalize the rule: red buoys stay on one side, green buoys stay on the other, and the convention flips depending on which direction you are sailing. Memorize that pattern and you can read any channel at a glance.
IALA Region A vs Region B
The game follows IALA Region B conventions, which is the system used in the Americas, the Caribbean, and parts of Asia. In Region B, when sailing toward the harbor (inbound), keep red buoys to starboard and green buoys to port. When sailing out of the harbor (outbound), reverse the rule: red to port, green to starboard. Region A, used in Europe and most of the Pacific, follows the opposite inbound convention. The simulator's seamark behavior matches real-world IALA Region B, so captains familiar with U.S. coastal buoys will feel right at home.
| Direction of Travel | Red Buoy | Green Buoy | Shape |
|---|---|---|---|
| Inbound (toward harbor) | Starboard (right) | Port (left) | Cylindrical / Can |
| Outbound (away from harbor) | Port (left) | Starboard (right) | Conical |
Light Characteristics at Night
Each seamark in the simulator also carries a light characteristic, and the rhythm tells you which mark you are looking at when visibility drops. A fixed light (steady glow) is rare and usually marks a major structure; a flashing light (typically 4 seconds per flash) marks a safe-water buoy; a quick-flash or very quick-flash (under 1 second) marks a lateral buoy near a turn. The night sky in the simulator is fully usable for navigation because the game models star positions and lunar phase, so you can take bearings on celestial bodies the way real navigators do when a horizon is unreliable. The professional ship simulator night sailing system ties chart, light, and stars into one continuous picture, which is why simply cranking up brightness does not help — you need to read the lights by their rhythm.
Sailing in Fog and Low Visibility
Fog is the single most punishing condition in the simulator, and it is also one of the most realistic. The professional ship simulator sailing in fog mechanics use the difference between air temperature and dew point to calculate density: when the two values converge, the simulator produces 100% fog. You can see this in action with the Custom weather mode, where every parameter has its own slider and a randomize button gives you a quick starting point.
Fog Density and What It Does to Your Sensors
The simulator does not give you magical radar that sees through fog. Instead, you have audio cues, a limited visual range, and the chart. When fog rolls in, your effective visual range drops to a few hundred meters, and the only way to stay safe is to slow down and steer strictly along the charted track. The pilot support system is built specifically for this scenario: a maritime pilot on the radio can call out shallow water ahead of your vessel, and the game lets you adjust how far in advance those warnings trigger via the Sonar warn distance key.
| Fog Density | Visual Range | Recommended Speed | Recommended Action |
|---|---|---|---|
| Light haze | ~2 nm | Cruise speed | Monitor chart, listen to radio |
| Moderate fog | ~0.5 nm | Half speed | Engage pilot, post lookout |
| Heavy fog | <0.2 nm | Dead slow | Pilot required, sound signals |
| 100% fog | <50 m | Bare steerage | Anchor or hold outside channel |
Combining Wind, Current, and Fog
Fog rarely arrives alone. According to the official NauticXP features page, the weather system models rain, storm, snow, dust, and fog together, and a Dynamic option lets conditions change randomly after a set period. That means fog usually overlaps with a current that pushes you off track, and the winddrift effects documented in the sea state guide compound the problem. The right move is to fix your heading against the chart, ignore the visible water, and trust the buoy lights as they appear out of the gray. If you cannot see the next buoy within a reasonable interval, stop the ship and call the pilot before you continue.
Night Sailing and Celestial Navigation
Night sailing in Professional Ship Simulator is not a gimmick. The sky is fully modeled, including stars and lunar phase, and the simulator exposes enough data for you to take real bearings. That makes the professional ship simulator night sailing experience closer to bridge watchkeeping than to a video-game shortcut.
Setting Up for a Night Departure
Before leaving the dock at night, reduce your speed planning to account for the fact that you will not see the harbor exit until the last moment. Check the chart for the bearing from the harbor mouth to the first green buoy, and steer that heading immediately on departure. As soon as the first buoy's light flashes, confirm it matches the charted position and adjust. The seamarks' light rhythms — fixed, flashing, quick-flash — are your visual anchors when the coastline is invisible.
Using the Stars and Moon
The night sky uses a real star catalog, so Polaris, the Southern Cross, and major constellations are positioned correctly for the in-game date. If you are sailing far enough offshore that seamarks are out of visual range, take a star or moon bearing and compare it against the charted bearing to your destination. The chart also displays a horizon line, which makes celestial shots practical. Keep in mind that the wind and current behavior at night is the same as during the day, so plan your heading for leeway and set as you would normally.
| Time of Night | Visible Sky Features | Recommended Action |
|---|---|---|
| Twilight | Horizon, leading marks | Depart harbor, align to first buoy |
| Early night | Major stars, bright planets | Fix position with star sight |
| Midnight | Full star field, possibly moon | Celestial fix every hour |
| Pre-dawn | Faint horizon, bright stars | Reduce speed, prepare for visual piloting |
Calling the Pilot and Mission Workflow
The simulator's mission system runs through the radio menu, and more than 20 of the 40-plus harbors are accessible for tasking this way. When you accept a mission, the radio often guides you to specific coordinates, but the actual piloting is still on you. The professional ship simulator navigation guide would be incomplete without covering when to call a pilot, because the in-game pilot is not just flavor dialogue — the pilot actively scans the water ahead and warns you about shallow patches before you run aground.
When to Request Pilot Support
Call the pilot any time visibility drops below half a nautical mile, any time the channel narrows to a single buoy line, or any time you are not 100% certain of the next mark's identity. According to the NauticXP knowledge base on pilot support, the pilot is a maritime figure who knows the local area and will inform you about shallow waters ahead of the ship, with the warning distance controlled through the Sonar warn distance key binding.
| Scenario | Pilot Required? | Why |
|---|---|---|
| Clear day, wide channel | No | Visual piloting is sufficient |
| Clear day, narrow harbor entrance | Recommended | Tight margins, current set |
| Fog, any channel | Yes | Visual references are unreliable |
| Night, unfamiliar port | Yes | Light identification is error-prone |
| Storm with poor visibility | Yes | Wind drift and rain reduce cues |
Mission Workflow Step by Step
A clean mission workflow keeps the radio and chart in sync. The steps below work for most tasking missions, and they pair naturally with the chart-reading habits in the earlier sections. If you are new to the simulator, the broader Professional Ship Simulator starter guide covers the controls and menus you will need to execute these steps.
-
Open the chart and plot the harbor entrance, the first three buoys, and the destination pier before you undock.
-
Check the weather mode and confirm whether fog or storm is forecast; call the pilot early if visibility will drop.
-
On departure, steer the precomputed bearing to the first seamark and reduce to a speed that lets you stop within visual range.
-
Monitor the radio for shallow-water warnings and adjust the Sonar warn distance so you hear about hazards in time to slow.
-
On approach to the pier, switch to a slower bell and let the pilot guide the final turn, since tug-and-pier margins are the tightest in the game.
Putting It All Together
Navigation in Professional Ship Simulator rewards preparation over reaction. Plot your track, memorize the buoy rhythm, know the fog procedures, and use the pilot when conditions demand it. The simulator's depth data, real seamark placements, working star field, and dynamic weather are not decoration — they are the systems you must respect to finish a mission without a tow back to the dock. Build the chart-reading and buoy-discipline habits described above and you will find that even the most punishing fog run becomes a controlled, repeatable procedure rather than a guess.
Frequently Asked Questions
What is the main difference between a chart and a map in Professional Ship Simulator?
A chart includes depth contours, seamark icons, and harbor names, while the simplified map view only shows coastline and harbors. Use the chart for coastal piloting, and the map only for trip planning between widely separated ports.
How do I tell red and green buoys apart at night?
Each lateral buoy has a distinct light rhythm that matches its color. Green buoys typically use a quick-flash pattern, while red buoys use a slower flash. Memorize the rhythm as well as the color, because fog strips the color and leaves only the rhythm.
When should I call the maritime pilot?
Call the pilot any time visibility drops below roughly half a nautical mile, when entering a narrow harbor entrance, or when you are uncertain about the next mark's identity. The pilot scans ahead of your ship and calls out shallow water through the radio, with the warning distance set by the Sonar warn distance key.
Can I sail at night without lights?
You can, but the chart and stars will be your only references. Set a heading based on the charted bearing, take a star or moon fix periodically, and stay well offshore so you have sea room to correct for wind and current drift.
Does fog affect the chart in any way?
No — the chart data is unchanged by weather. Fog only removes your ability to see the water, the buoys, and the coastline. That is exactly why the chart and the pilot are so important in poor visibility: they are the only information sources still available to you.