
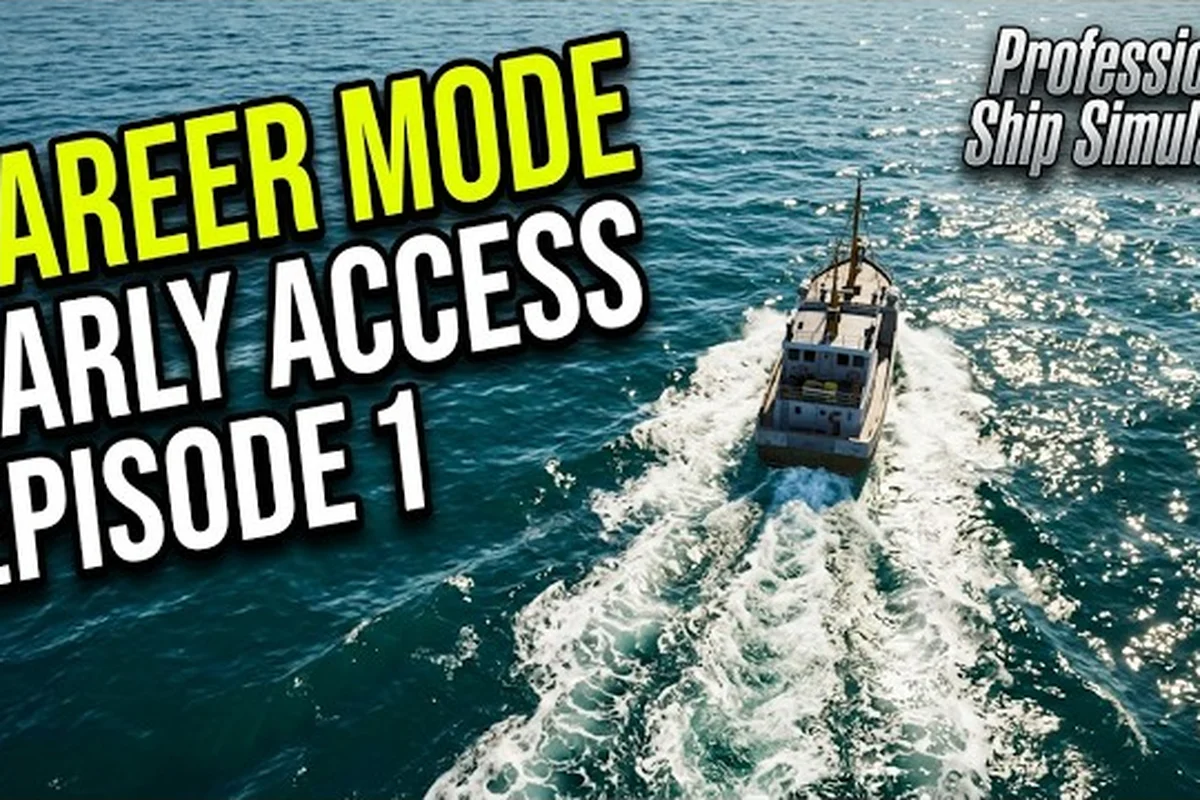
Learning Professional Ship Simulator keyboard controls is the fastest way to translate bridge intent into smooth ship handling, and this Professional Ship Simulator keyboard controls guide walks you through every binding layer the game exposes. The simulator ships with a full default layout, a per-ship override system, and dedicated support for gamepads and dedicated steering wheels, so a few minutes spent in the input menu will save hours of fumbling during a tight harbour approach.
Default Keyboard Layout and the Input Menu
The default Professional Ship Simulator keyboard controls are organized around a bridge officer's real workflow: a steering hand on the arrow keys or WASD cluster, a throttle hand on the numeric row, and a function hand for comms, lights, horn, and view toggles. According to the official knowledge base, you can remap the entire scheme by opening Options → Input, entering a unique profile name, pressing the mapping button, and assigning up to 70 buttons plus roughly a dozen axis inputs before saving with the Apply button at the bottom of the page. After the profile is stored, the Assign to Ship field links that mapping to the available ship classes so the same profile can behave differently on a tug, a container vessel, or a pilot boat.
Core Movement Keys
Movement is split into three independent channels: heading, throttle, and lateral thrust. The simulator lets you combine channels with the keyboard alone, which is why most players keep their left hand anchored over the steering cluster rather than chasing hotkeys.
| Action | Default Key | Function |
|---|---|---|
| Rudder Port (steer left) | Left Arrow / A | Holds the rudder to port |
| Rudder Starboard (steer right) | Right Arrow / D | Holds the rudder to starboard |
| Throttle Ahead | Up Arrow / W | Increases main engine RPM |
| Throttle Astern | Down Arrow / S | Reduces or reverses main engine RPM |
| Bow Thruster Port | Q | Lateral push at the bow to the left |
| Bow Thruster Starboard | E | Lateral push at the bow to the right |
| Stern Thruster Port | Z | Lateral push at the stern to the left |
| Stern Thruster Starboard | C | Lateral push at the stern to the right |
Bridge Utility Keys
Utility commands are scattered across the function row and right-hand cluster so a single operator can run the entire bridge without leaving the home row. The default bindings cover the most common pilot boat and harbour maneuvers, and every entry below can be reassigned in the same Input page.
| Command | Default Key | Use Case |
|---|---|---|
| Horn / Whistle | Space | Sound signal in traffic separation schemes |
| Toggle Navigation Lights | L | Required for night pilotage |
| Toggle Anchor | H | Drop or weigh anchor in the harbour approach |
| Cycle Camera View | V | Switch between bridge, chase, and free camera |
| Toggle Autopilot Modes | F8 | Engage the X5 autopilot (see below) |
| Open Chart Plotter | M | Toggle the digital nautical chart overlay |
| Engage Towline | T | Used by tug operators during escort work |
| Radio Menu | R | Open VHF channel selection |
| Pause Simulation | P | Freeze the sim to read a waypoint list |
| Screenshot | F12 | Capture a frame without alt-tabbing |
The default Professional Ship Simulator keyboard overview is intentionally conservative, and players who want finer control over the throttle can rebind the numeric row to discrete RPM steps. Community guides recommend binding 1-5 to 10%, 25%, 50%, 75%, and 100% ahead power so you can punch a precise bell during a docking approach.
Controller Support and Gamepad Mapping
Professional Ship Simulator controller support is built on a flexible axis system that recognizes DirectInput and XInput gamepads, including Xbox and PlayStation pads when connected through Steam Input. According to the Controller Support knowledge base entry, the workflow is the same as for keyboards: open Options → Input, create a named profile, and the game will detect up to 70 button slots and roughly a dozen analog axes, including the two thumbsticks, both triggers, and a gyroscope where supported.
Mapping a Gamepad Profile
A gamepad profile should mirror the three-channel movement model rather than copy a console racing layout, because a ship's heading, throttle, and thrusters are independent systems. The recommended mapping below comes from community testing across the tug and pilot boat roster.
| Axis / Button | Mapping | Why It Works |
|---|---|---|
| Left Stick X | Rudder | Analog steering for crab corrections |
| Right Stick Y | Main Throttle | Smooth RPM ramps without binary jumps |
| Right Stick X | Bow Thruster | Quick lateral nudge during berthing |
| Left Trigger | Stern Thruster Port | Pressure-sensitive for fine docking |
| Right Trigger | Stern Thruster Starboard | Mirrors left trigger for symmetry |
| A / Cross | Horn | Most-used single-tap action |
| B / Circle | Drop / Weigh Anchor | One-handed control during berthing |
| Y / Triangle | Toggle Navigation Lights | Avoids keyboard reach |
| X / Square | Cycle Camera View | Frequent frame switch |
| D-Pad Up / Down | Autopilot Mode Cycle | Same function as F8 on keyboard |
| Start | Pause Simulation | Matches keyboard P binding |
Cross-Platform Notes
Players on Steam Deck report that the simulator's default gamepad profile is recognized automatically once the controller is detected, but rebinding is still recommended because the default axis curves are tuned for full-size Xbox controllers. Community testing also shows that the gyroscope on PS5 DualSense controllers can be assigned to either rudder or thruster for micro-corrections during long pilotage legs, though this is an advanced setup and not required for harbour work. A full per-ship guide to throttling and berthing is covered in the manoeuvring guide, which builds on the bindings above.
Steering Wheel, Rudder Pedal, and HOTAS Setups
Professional Ship Simulator steering wheel support is the deepest of the three input paths because the game treats a wheel the same way it treats any axis device: assign the wheel to rudder, the pedals to a separate thruster channel, and bind the wheel's paddle shifters to RPM steps. Force feedback is exposed as an axis, so wheels from Logitech, Thrustmaster, and Fanatec will all transmit wheel resistance during high-RPM transits once the driver is installed and the device shows up in the Input menu.
Recommended Wheel Profile
A wheel profile is most useful on the larger ship classes where the rudder authority is significant and the wheel needs to be turned several full rotations lock-to-lock. The profile below assumes a Logitech G923 or equivalent rim with a separate pedal unit.
| Input Device | Bind To | Notes |
|---|---|---|
| Wheel Rotation | Rudder (full lock-to-lock) | 900° or 1080° wheels both work |
| Left Pedal | Bow Thruster Port | Pressure-sensitive lateral push |
| Right Pedal | Bow Thruster Starboard | Mirrors the left pedal |
| Left Paddle Shifter | Throttle Decrease 25% | Step down RPM by a quarter bell |
| Right Paddle Shifter | Throttle Increase 25% | Step up RPM by a quarter bell |
| Wheel Button 1 | Horn | Natural thumb position |
| Wheel Button 2 | Autopilot Engage | Quick handoff to AP |
| Wheel Button 3 | Toggle Chart Plotter | Avoid leaving the wheel |
| Wheel Button 4 | Drop Anchor | Common in tug escort work |
Rudder Pedal Standalone Setups
If you own rudder pedals but no wheel, the simulator still recognises them as a three-axis device, which lets you dedicate each pedal to a different thruster channel. Players running this configuration typically map the left pedal to Bow Thruster Port, the right pedal to Bow Thruster Starboard, and the centre pedal (or the toe brake on a combined unit) to Stern Thruster Astern for reverse push during berthing. The keyboard still handles the main throttle in this setup, which works because the rudder pedals are pressed intermittently while the throttle hand stays anchored on the numeric row.
Input Settings, Autopilot, and Clickable Cockpit
Professional Ship Simulator input settings extend well beyond movement bindings because the bridge itself is fully clickable. According to the Clickable Cockpit knowledge base article, most actions can also be performed by left-click-hold-and-drag on the bridge device itself, including the wheel, the azipod control, every lever, the anchor, the thruster joystick, the towline, the ramps, and every throttle. This dual-input design means you can mix-and-match: a wheel for the main helm, the mouse for the chart plotter, and the keyboard for utility hotkeys.
Autopilot Modes and Override
The X5 autopilot exposes four modes that all need a binding to feel responsive at sea. According to the X5 Autopilot knowledge base, the modes are Manual (AP off), Override (AP is overridden by any steering input and returns automatically once the controller returns to zero), Heading (holds the heading at the moment the mode was activated), and Waypoint (follows the available waypoint list and switches to the closest active waypoint based on turn radius). A clean binding for this stack is:
| Mode | Suggested Binding | Why It Helps |
|---|---|---|
| Manual | F8 | Default; disables AP completely |
| Override | F9 | Lets the wheel override without disengaging |
| Heading Hold | F10 | Locks course during transit legs |
| Waypoint Follow | F11 | Hands-off harbour entry on long runs |
Clickable Cockpit Workflow
The clickable cockpit is most useful when a specific action is not bound or when the ship class exposes a lever the keyboard layout does not cover, such as azipod thrust direction on a modern cruise vessel. Holding left mouse button and moving the device left or right of its centre position replicates the keyboard axis, which means you can drive the entire bridge from the mouse alone if necessary. A clean workflow for new players is to learn the keyboard first, layer the clickable cockpit on top for uncovered devices, and only introduce a controller or wheel once the default feel becomes limiting.
Best Settings, Performance, and Binding Tips
Professional Ship Simulator best settings span both input and graphics, because a binding that triggers reliably depends on the frame time staying under the input polling budget. On hardware that struggles to hold a stable framerate, the keyboard polling can desync from the simulation tick and produce noticeable input lag during tight berthing maneuvers. The official Professional Ship Simulator store page lists the minimum and recommended specifications, and players on borderline hardware typically lock framerate to 30 FPS, cap the simulation tick to match, and disable post-process motion blur so the bridge remains readable at speed.
Graphics and Performance Presets
The graphics menu exposes the usual levers, and a balanced profile is the right starting point for most pilots. The table below combines the most impactful settings with the recommended value for a stable input pipeline.
| Setting | Recommended Value | Reason |
|---|---|---|
| Resolution | Native | Avoids input lag from upscaling |
| Frame Rate Cap | 60 FPS | Matches the input polling budget |
| VSync | Off | Reduces input latency on most GPUs |
| Post-Process Motion Blur | Off | Keeps the bridge readable at speed |
| Shadow Quality | Medium | Big perf win on mid-range GPUs |
| Water Reflections | Medium | Visual gain without input impact |
| Anti-Aliasing | TAA | Smooths distant ships at low cost |
| Object LOD | High | Prevents pop-in on approaching vessels |
A deeper breakdown of the graphics and performance trade-offs is available in the Professional Ship Simulator settings guide, which expands each row above with measured framerate deltas.
Practical Binding Tips
-
Save a profile per ship class. Tug work, harbour piloting, and open-sea cruising all reward different bindings, and the Assign to Ship field in the Input menu lets you swap automatically.
-
Keep throttle and rudder on opposite hands. This is the single biggest improvement new players can make, because it frees the right hand for horn, lights, and autopilot without crossing the centre line.
-
Bind a panic key. A single key that drops the throttle to zero, sounds the horn, and engages the autopilot in Override is invaluable during an unexpected traffic encounter.
-
Test bindings in the harbour scenario first. The pilot boat roster in the ship list includes several low-consequence vessels that are ideal for stress-testing a profile before committing it to a long mission chain.
-
Re-export profiles after major patches. The Early Access build is updated frequently, and the developers have flagged the input layer for ongoing tuning, so re-binding after a patch is a healthy habit.
Once the binding is stable, the next step is usually a career-mode progression route, which is where the first licence and fleet expansion guide picks up the thread. Combining a tuned input profile with a measured first-licence push is the path most community pilots follow when they move from keyboard to wheel.
Frequently Asked Questions
Can I use a keyboard and mouse at the same time in Professional Ship Simulator?
Yes. The simulator treats the keyboard, mouse, gamepad, and wheel as independent input sources, so you can steer with the keyboard, click chart plotters with the mouse, and still have a wheel bound to a thruster channel. This hybrid setup is common among tug operators who want the precision of a wheel without losing the keyboard's utility hotkeys.
How many buttons can I bind in a single profile?
According to the controller support documentation, you can assign up to 70 buttons and roughly a dozen axis inputs in a single profile, which is enough to cover every bridge action in the game. After saving the profile with the Apply button, the Assign to Ship field links it to the available ship classes so the binding behaviour changes automatically.
Does the simulator support force feedback on wheels?
Yes. Force feedback is exposed as an axis, so wheels from Logitech, Thrustmaster, and Fanatec all transmit wheel resistance once the driver is installed and the device is detected in the Input menu. Players report the strongest feedback on container vessels and cruise ships, where the rudder authority is significant and the wheel needs to be turned several full rotations lock-to-lock.
Can I rebind the clickable cockpit actions to keyboard only?
Yes, although the clickable cockpit is designed to be driven with the mouse. The recommended approach is to bind the most-used actions, such as horn, anchor, and autopilot, to dedicated keys, and use the clickable cockpit for uncovered devices like the azipod control or the towline lever. The clickable cockpit also serves as a visual reference for what each keyboard binding actually does on the bridge.
What is the best starter ship for testing a new binding profile?
The pilot boat and small tug classes are the most forgiving test beds, because they respond quickly to input changes and are easy to reset if a binding behaves unexpectedly. Once the profile feels reliable on a short harbour approach, the same binding can be promoted to a larger container vessel or a cruise ship for a final stress test.