
Controls & Setup
Professional Ship Simulator controls and setup: choosing between keyboard, gamepad, joystick or a full throttle rig, mapping 50+ buttons and nine axes, and tuning performance.
Introduction
Professional Ship Simulator asks more of your input hardware than most simulations: the developers expose more than fifty assignable buttons and nine axes, and the keyboard layout is split into three layers so that secondary panels stay reachable without leaving the bridge view. That design is generous once configured and genuinely awkward if you never configure it. The clickable cockpit does some of the heavy lifting, letting you operate panels directly with the mouse, and the docking panel in particular is designed around that interaction. Beyond input, this section covers the practical settings work: choosing between keyboard, gamepad, joystick and a full throttle-and-wheel setup, mapping the controls you need without looking down, understanding how the layered keyboard is meant to be used, and tuning graphics and frame-rate options for mid-range hardware.
Input Options Compared
| Input | Strengths | Weaknesses | Recommended For |
|---|---|---|---|
| Keyboard and mouse | Every function reachable, precise panel clicking | Analogue control is poor | Learning systems and harbour work |
| Gamepad | Analogue steering and thrust on sticks | Limited button count for secondary panels | Casual sailing and short sessions |
| Joystick | Natural rudder and throttle feel | Needs mapping work to be useful | Players who already own one |
| Throttle and wheel | Closest match to real telegraph control | Expensive and bulky | Dedicated simulation setups |
Setup Essentials
Choosing Your Input
The decision that shapes everything else about how the sim feels to play.
Mapping the Essentials
A short binding list you can operate without taking your eyes off the water.
The Layered Keyboard
Three layers, one keyboard, and a great deal of confusion if you ignore it.
Clickable Cockpit Workflow
Mouse interaction, panel pinning and the docking panel.
Core Mechanics
The three-layer keyboard layout is the part most players misunderstand at first. Rather than exposing every function as a separate key, the sim groups primary controls on the base layer and pushes secondary and tertiary functions onto shifted layers, with the current layer reflected on screen. That means the same physical key can mean three different things depending on which layer is active, which is efficient once the pattern is learned and dangerous while it is not. The intended workflow is to bind the handful of controls you use constantly — rudder, telegraph, thrusters, horn, view cycling — to inputs you can find without looking, then rely on the clickable cockpit for everything else rather than memorising fifty bindings.
Advantages
Configured properly, this control philosophy is excellent. The clickable cockpit means you never have to bind a rarely used panel, and the layered keyboard means a modest physical keyboard can still reach everything. Analogue control through a gamepad or joystick transforms low-speed manoeuvring, because thrust and rudder respond proportionally instead of in steps. Hardware you already own is likely supported, and the sim exposes enough axes that a throttle and wheel rig genuinely maps onto the way the vessel is operated rather than being an approximation of it. The result is that a modest input setup can still reach every function, which removes the pressure to buy hardware.
Challenges
The cost is a real configuration burden up front. A player who plugs in a controller and expects sensible defaults will find some functions unreachable without remapping, and the layered keyboard actively confuses people who have not read what the layers do. Performance tuning also matters more than in a typical game because the bridge scene is busy: frame rate limits and graphics options need attention on mid-range hardware, and a frame rate that drops during a harbour approach directly affects how precisely you can handle the telegraph. The remedy is to spend one session configuring properly, because the default setup does not suit every player and never will.
Frequently Asked Questions
Do I need a joystick to play this properly?+
What does the triple-layer keyboard actually do?+
How do I get a stable frame rate?+
Quick Tips
Configure your controls in open water, not in harbour. Spend a session deliberately pressing every binding you intend to use, so you discover the awkward ones while there is nothing to hit rather than mid-approach with a quay wall closing. Test each binding in open water before you rely on it during a berthing, where you cannot afford to look down.
Learn the base keyboard layer before touching the other two. Trying to internalise all three layers simultaneously is why players conclude the control scheme is unmanageable; taken one layer at a time it is efficient and quick to learn. Write your essential binding list down and keep it beside you during the first few sessions rather than after them.
Set a frame rate limit and test it in a busy harbour rather than in open sea. Smooth, predictable frame timing matters far more during a berthing than during a transit, and that is where an unstable frame rate will actually cost you a contract. Revisit the configuration after a patch, because updates occasionally reset or add bindings that were not there before.
Featured
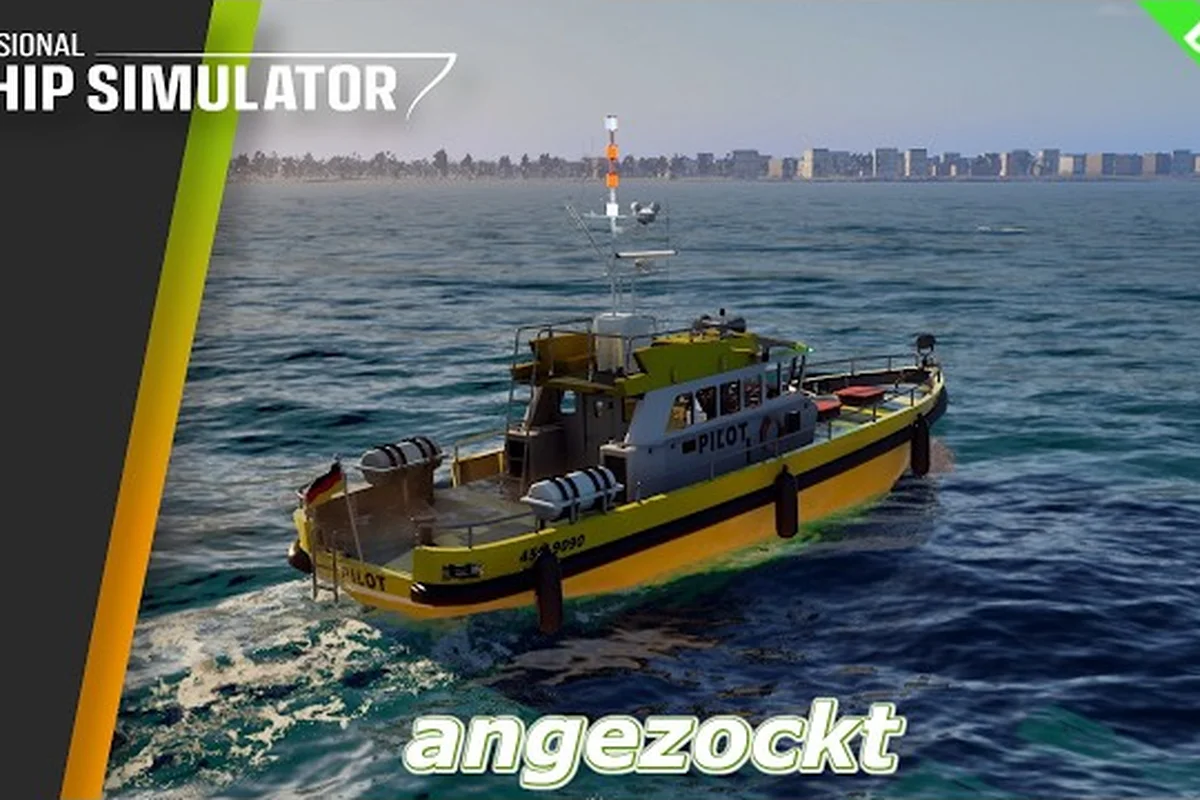
Professional Ship Simulator Controls: Keys & HOTAS
Map every Professional Ship Simulator controls layout, from keyboard shortcuts and gamepad bindings to HOTAS joystick profiles.
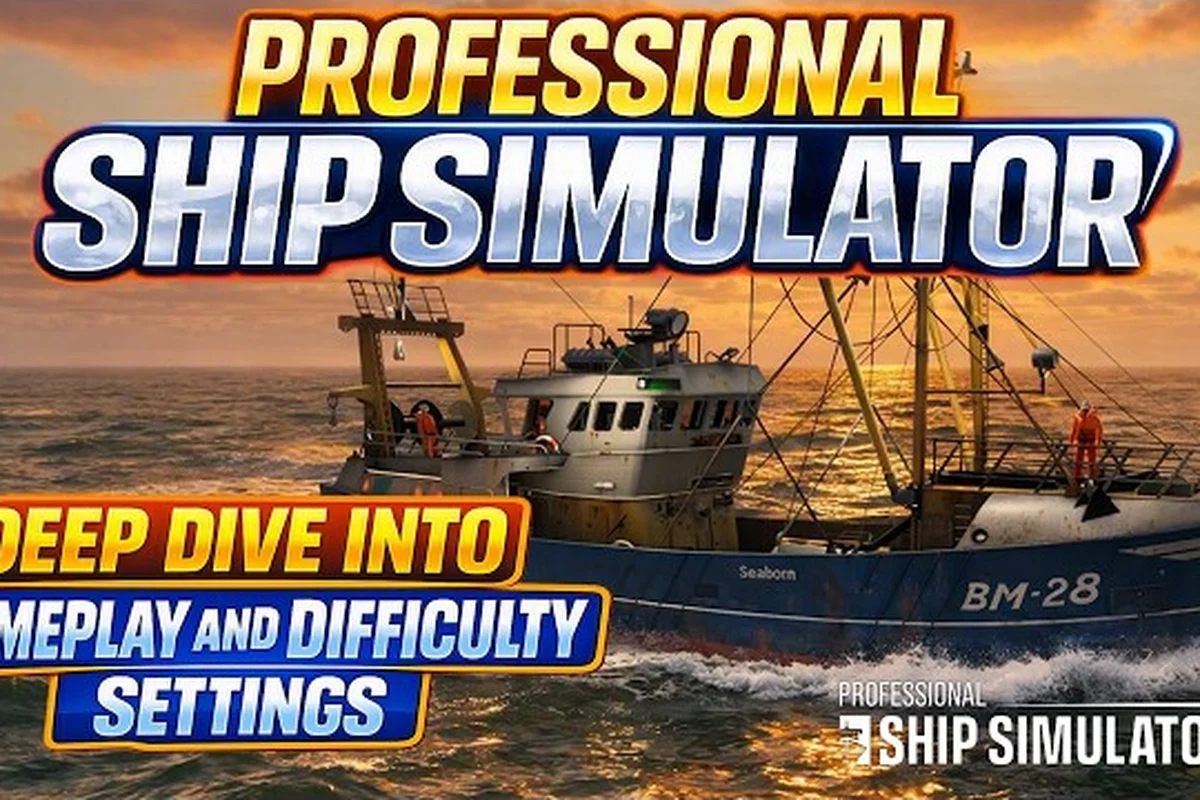
Professional Ship Simulator Axes: Telegraph, HDR & Accessibility
Adjust Professional Ship Simulator axes for telegraph control, HDR display, ultrawide monitors, subtitle scaling, and accessibility options that fit your bridge.
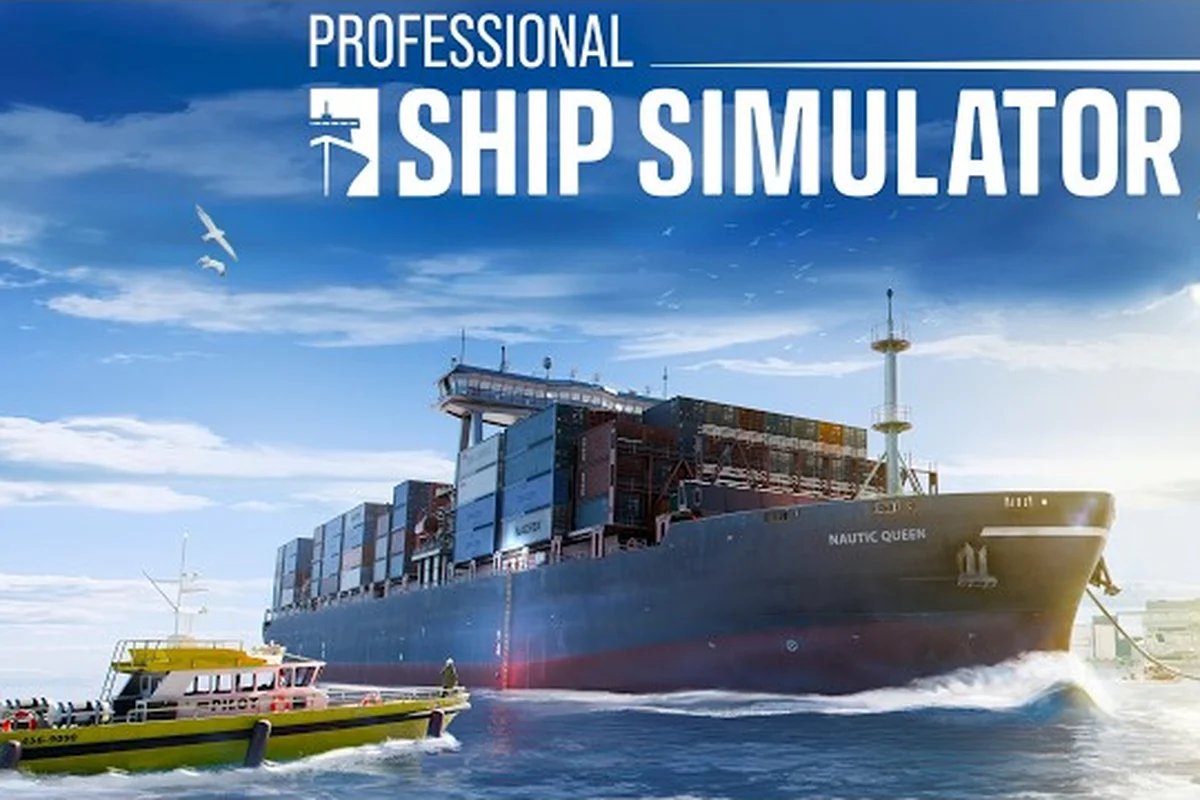
Professional Ship Simulator Gamepad Layout: Rudder & Thruster Map
Configure the Professional Ship Simulator gamepad layout for rudder, thruster, bow thruster, and camera controls with a full button mapping walkthrough.
All Articles
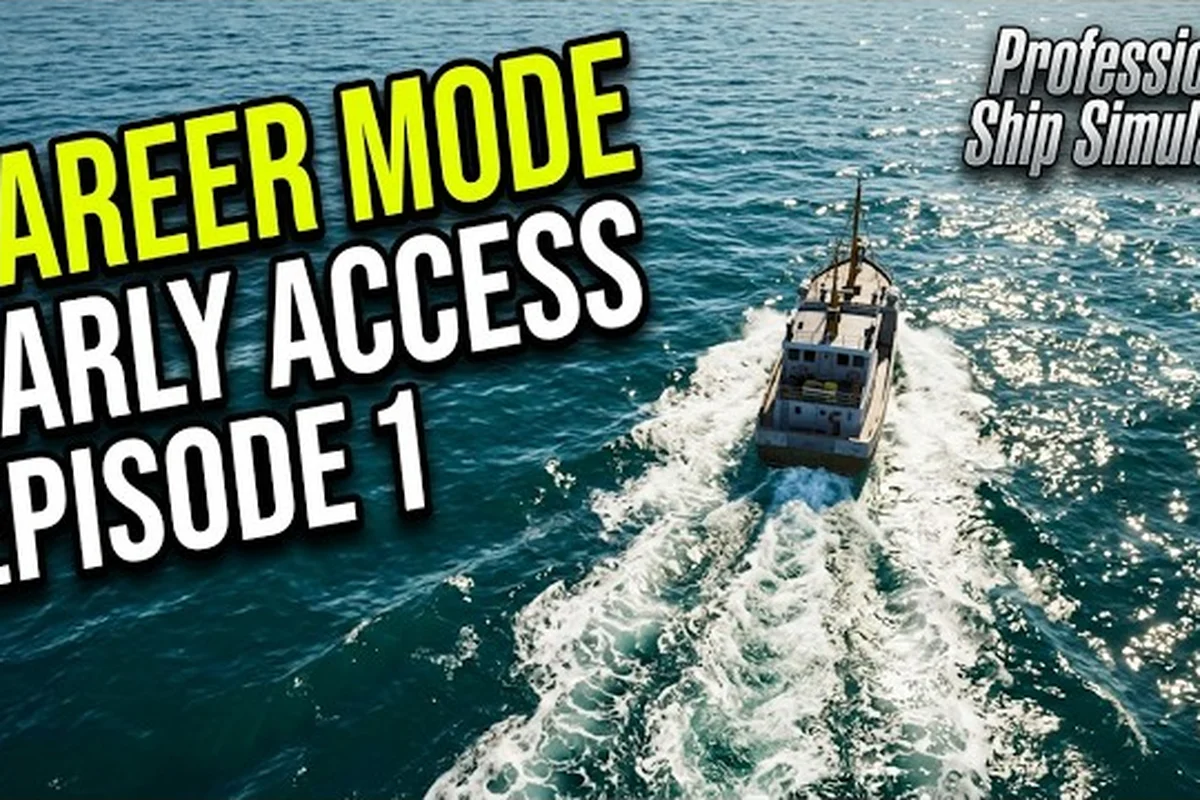
Professional Ship Simulator Keyboard Controls Guide
Master Professional Ship Simulator keyboard controls with this binding guide covering shortcut keys, controller, and wheel mapping.
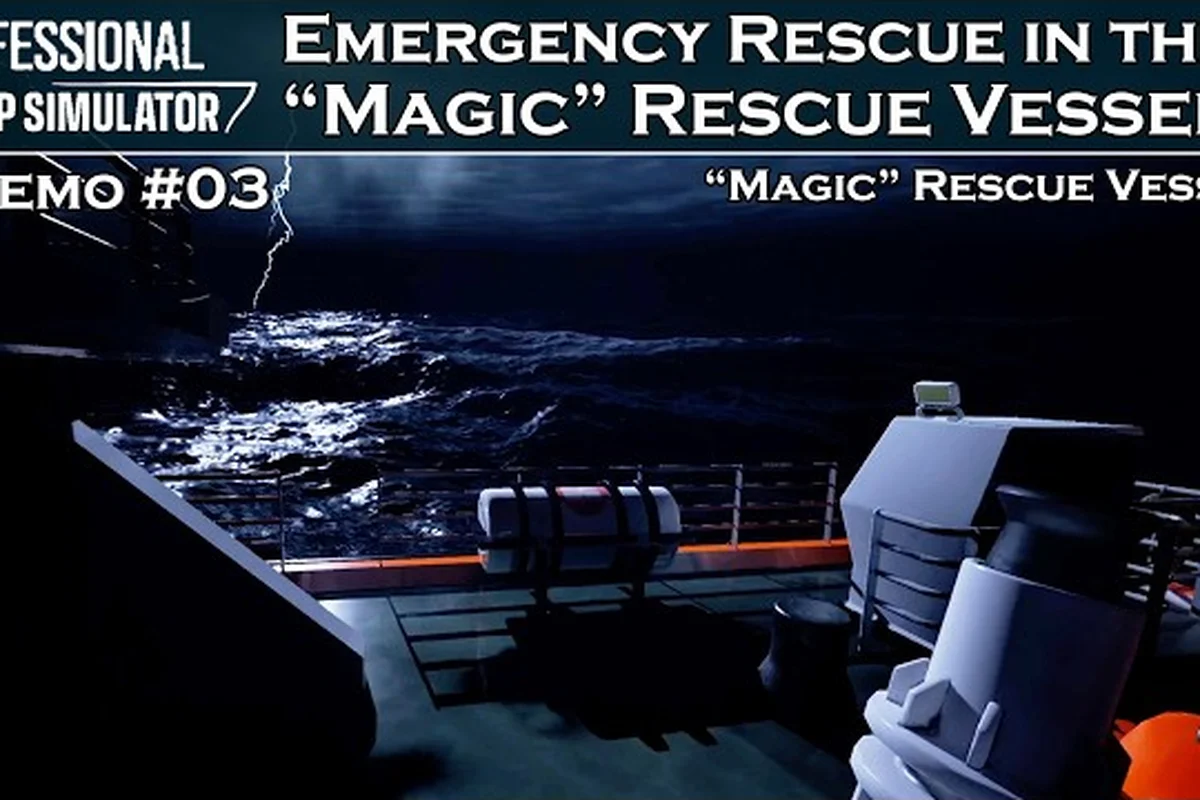
Professional Ship Simulator View Modes: Cameras & Photo Mode
Switch between Professional Ship Simulator view modes including bridge, bow, stern, and external cameras plus photo mode, multi-monitor, and audio settings.
Professional Ship Simulator Low FPS Fix: Boosts
Boost your Professional Ship Simulator low FPS fix with optimized graphics settings, head tracking tweaks, and mouse smoothing.
Professional Ship Simulator Settings: FPS and VR
Tune Professional Ship Simulator settings for smooth FPS, low-end PC performance boosts, VR support tweaks, and clean graphics options.