
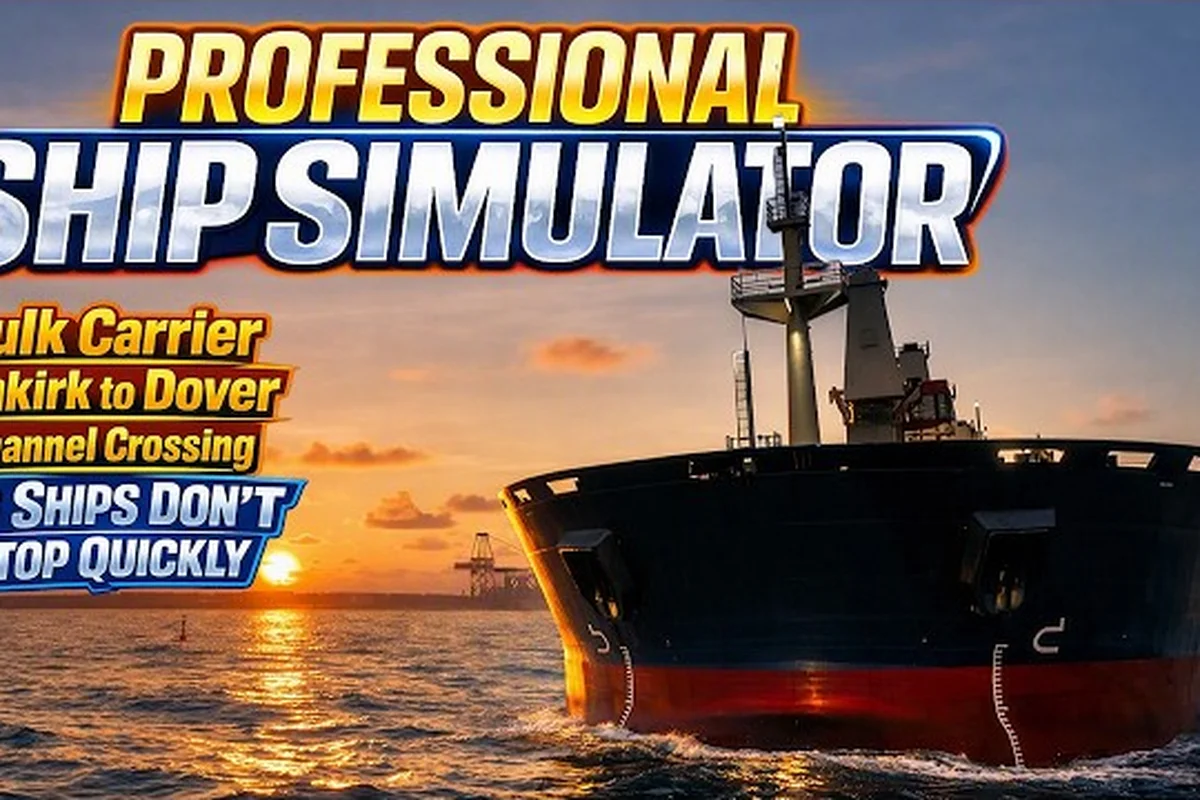
Reading a chart is the single biggest skill gap between a captain who limps into port and one who threads a 300-meter container ship through a crowded lane without a scratch. Professional Ship Simulator nautical charts turn every bay, breakwater, and buoy into readable data, and once you can decode them, you stop guessing and start routing. The system in Professional Ship Simulator mirrors real-world SOLAS conventions closely enough that the habits you build here carry over to actual pilotage, which is why experienced players treat chart work as a career-mode discipline, not a side activity.
This guide walks you through the chart interface, the meaning of every symbol you'll see, the standard shipping lane conventions used in the simulator, the give-way rules that decide who turns when two ships converge, the navigation lights that confirm a target's heading at night, and the weather tips that decide whether you should depart at all. By the end, you should be able to plot a multi-leg voyage, identify a target's aspect from lights alone, and recover from a near-miss with rules you can recite from memory.
Decoding Chart Symbols and Bridge Filters
The chart view in Professional Ship Simulator is more than a static map; it is a layered instrument that responds to zoom level, time of day, and the active filters on the bridge panel. Beginners often open the chart, see a mass of symbols, and assume it is decorative. It is not. Every triangle, circle, and dashed line is a contract between the chart and your ship, and ignoring one can put you aground on a rock you "did not see."
Chart Symbols and What They Mean
The simulator uses a slightly simplified IALA buoyage system, so the lateral marks behave the way you would expect in Region B (red right returning). The following table summarizes the symbols you will encounter on every voyage:
| Symbol | Name | Meaning | Action |
|---|---|---|---|
| Green can buoy | Starboard lateral mark | Keep to starboard when returning to port | Pass on your right |
| Red nun buoy | Port lateral mark | Keep to port when returning to port | Pass on your left |
| Yellow cardinal mark | Cardinal danger | Yellow shows hazard position; topmarks indicate quadrant | Stay outside the marked quadrant |
| Isolated danger mark | Black with red bands | Single hazard (wreck, rock, wellhead) | Pass well clear, do not cross close aboard |
| Safe water mark | Red and white stripes | Channel is open ahead | Pass on either side as needed |
| Special mark | Yellow with cross | Cable, pipeline, or recreation area | Avoid anchoring, transiting allowed |
| Dashed magenta line | Recommended track | Optional but efficient path | Use when time-saving matters more than flexibility |
| Solid magenta line | Traffic separation scheme lane boundary | Mandatory separation from oncoming traffic | Cross only at published 90° gaps |
| Depth contour (light blue shading) | Shallow water | Bottom contour visible on chart | Slow down, watch draft |
Once you can recognize these at a glance, the chart stops being a wall of icons and starts being a sequence of decisions. The color rule is simple: red keeps you out, green lets you in, yellow warns you, and magenta organizes traffic. If you remember nothing else, remember that.
Setting Up Your Chart Display
Before you even leave the dock, spend two minutes configuring the chart panel. Open the bridge, click the chart toggle, and adjust the layer filters. Most captains leave too many layers on, which produces visual noise that hides the buoys you actually need. A clean setup makes route planning faster and reduces the chance of misreading a cardinal mark as a lateral mark at dusk.
| Filter | Recommended Setting | Reason |
|---|---|---|
| Day/Night palette | Match time of day | Symbols stay readable; night palette reduces glare on the bridge |
| Text labels | ON for buoys, OFF for depth soundings | You need names, not every sounding tick |
| AIS targets | ON in traffic, OFF in solo free-roam | Avoids clutter when there are no other ships |
| Weather overlay | ON when planning, OFF when navigating | Overlay blocks buoys at high zoom |
| Range rings | ON at 0.5/1/2 nm | Quick reference for distance to next waypoint |
| Depth shading | ON inside 5 nm of coast | Highlights shallow approach zones |
Spend the two minutes. Skipping it is the most common reason new captains strand a bulk carrier on a sandbar that was clearly marked.
Shipping Lanes and Traffic Separation Schemes in Professional Ship Simulator
The simulator models the same traffic separation scheme (TSS) geometry used by real harbors: a one-way inbound lane, a one-way outbound lane, and a separation zone between them. If you cross a lane boundary outside a published gap, the AI traffic will treat you as a wrong-way driver and the in-game penalty system will register the violation. Worse, you will create a realistic collision risk because oncoming traffic expects you to be on the correct side.
Where the Lanes Sit on the Chart
A TSS in Professional Ship Simulator shows up on the chart as two parallel solid magenta lines with directional arrows inside. The separation zone between them is usually a light grey band, and the inshore traffic zone (where smaller vessels are allowed) sits between the lane and the coast. When you are planning a coastal transit, your route should follow the recommended track outside the lane until you reach a gap, then cross at 90° to minimize the time you spend exposed to oncoming traffic.
| Element | Visual | Recommended Behavior |
|---|---|---|
| Inbound lane | Arrow pointing toward harbor | Follow lane in arrow direction at lane speed |
| Outbound lane | Arrow pointing away from harbor | Follow lane in arrow direction at lane speed |
| Separation zone | Grey band between lanes | Never enter; this is the buffer for oncoming traffic |
| Inshore zone | Between lane and coast | Allowed for small craft, watch for crossing traffic |
| Precautionary area | Circle with dashed border | Reduce speed, monitor VHF, prepare to give way |
| Crossing gap | Short break in lane lines | Cross at 90°, do not loiter in the gap |
Plotting a Lane-Compliant Route
The most common mistake new captains make is hugging the coast to "feel safe." In the simulator, the coast is where the wrecks, rocks, and shallow contours live. The lane is the safe corridor because it has been surveyed, buoyed, and cleared of hazards. When in doubt, follow the magenta.
To plot a lane-compliant route, open the chart, drop a waypoint at the harbor entrance, drop a second waypoint at the lane entry, and a third at the lane exit. Then add a waypoint at the next major buoy along the recommended track. The autopilot will follow the sequence in order, and the chart will draw a dashed line showing your intended path. Always check the dashed line before confirming, because the autopilot will happily sail you through a cardinal mark if the waypoints happen to line up that way.
Give-Way Rules and Collision Avoidance Basics
The give-way rules in Professional Ship Simulator follow the COLREGs closely, with two simplifications: sail is not modeled, and the overtaking rules apply only to power-driven vessels. Once you internalize the priority hierarchy, most encounters become a quick mental checklist rather than a panic. When conditions like fog or heavy precipitation complicate that mental checklist, practicing the give-way and stand-on rules inside a Professional Ship Simulator Weather Broadcast can reinforce the priority hierarchy far more effectively than textbook study alone.
The Priority Hierarchy
When two power-driven vessels meet, the rule is determined by the aspect, which is the angle at which you see the other ship. If you see her red sidelight, she is on your starboard and you give way. If you see her green sidelight, she is on your port and you stand on, but you must maintain course and speed. If you see both lights head-on, both vessels turn to starboard and pass port-to-port.
| Situation | You See | Other Vessel Sees | Required Action |
|---|---|---|---|
| Crossing, other on starboard | Red sidelight | Your green (white stern) | You give way, turn to starboard |
| Crossing, other on port | Green sidelight | Your red | You stand on, maintain course and speed |
| Head-on | Both red and green | Both red and green | Both turn to starboard |
| Overtaking | White stern light | Your red and green | Overtake on starboard, sound signal |
| Being overtaken | White stern light of overtaker | (n/a) | Stand on, do not impede |
Collision Avoidance with Radar and AIS
The AI traffic in Professional Ship Simulator is trained at a low level, so do not expect complex maneuvers from other ships. They will mostly maintain course and speed, which is exactly why your give-way decisions matter. The radar with CPA (Closest Point of Approach) warning is your early-warning system, and according to the AI Traffic knowledge base entry, the AI will hold position briefly when you sound the horn, giving you room to finish your maneuver. Use the horn early, not late, because a panicked blast at 200 meters does not undo a bad plan.
| Tool | Range | Best Use | Limitation |
|---|---|---|---|
| Radar | Up to 12 nm | Long-range traffic scan | Cluttered in rain; misses small buoys |
| AIS overlay | VHF range (~20 nm) | Identify ship name, course, speed | Only fitted on commercial vessels |
| CPA warning | Calculated | Predicts closest pass distance | False positives in dense traffic |
| Visual lookout | Optical horizon | Confirm radar contact, read lights | Useless in fog |
| VHF radio | 25 nm typical | Coordinate with other ships | AI rarely answers; player only |
Navigation Lights Guide for Night and Fog Sailing
At night or in fog, the chart still works but the world goes dark, and the only information you have about nearby traffic is the lights they show. The Professional Ship Simulator navigation lights guide mirrors the real COLREGs annex, so the patterns you learn here are the same patterns you would read on a real ship. The ship panel flag system controls which lights are lit, and getting this right is the difference between a peaceful night watch and a collision alarm.
Light Patterns by Vessel Type
A power-driven vessel underway shows a white masthead light forward, a second white masthead light aft (if over 50 m), red port sidelight, green starboard sidelight, and a white stern light. A vessel at anchor shows an all-round white light only. A vessel fishing shows a red over white vertical pair plus sidelights. A tug with a tow shows the same lights as the tow plus a yellow towing light above the stern light.
| Vessel State | Lights Shown | What It Tells You |
|---|---|---|
| Power-driven, underway (under 50 m) | 1 white masthead, red port, green starboard, white stern | Standard aspect rules apply |
| Power-driven, underway (over 50 m) | 2 white mastheads (higher aft), red port, green starboard, white stern | Same rules, taller profile |
| Vessel at anchor | 1 all-round white | Stationary, do not expect movement |
| Vessel aground | 2 all-round red vertical | Not under command to move |
| Fishing (trawling) | Red over white vertical, sidelights, stern | Limited maneuverability, give wide berth |
| Towing (over 200 m) | Same as tow + 3 mastheads + yellow towing light | Cannot deviate, stay clear |
| Not under command | 2 all-round red vertical | Cannot maneuver, you give way |
Reading Aspect at Night
Aspect is the single most important concept in lights work. If you see a vessel's red sidelight, she is crossing your bow from port to starboard, and you are the give-way vessel. If you see only her green sidelight, she is crossing from starboard to port, and she must give way to you. If you see both a red and green at the same brightness, she is nearly head-on and both vessels must turn starboard. If you see only a white stern light, she is moving away and you are overtaking or she is ahead of you.
The simulator's night visibility is reduced to roughly 2-3 nm, so plan your lights work in advance. The bridge panel lets you toggle lights on and off to match your real situation: at anchor, underway, towing, or not under command. Setting the wrong configuration is a minor but persistent bug in the rules because other captains will read your lights literally, and if you show fishing lights while underway, you will be treated as restricted in maneuverability.
Weather Tips and Route Planning in Professional Ship Simulator
Weather is the silent variable in every voyage. The same lane that feels safe in calm winds becomes a slalom of beam swells in a gale, and the simulator's weather system is detailed enough that ignoring it is the fastest way to lose time, cargo, or both. The weather broadcast system on VHF channel 20 gives you the current report for your area, and the ship panel weather section displays the same data numerically, so you always have two sources.
Weather Modes You Will Encounter
The weather system in Professional Ship Simulator supports several modes, and understanding which one is active is the first step in planning. Real weather mode pulls live data from an online source every five minutes, so conditions evolve while you sail. Custom weather mode lets you preset conditions from the pause menu before departure. Dynamic weather mode adds a forecast layer that updates as you progress, though it is still marked work-in-progress in the wiki.
| Mode | Source | Best For | Limitation |
|---|---|---|---|
| Clear | Default | Practice, learning chart symbols | Too easy to read buoys |
| Custom | User preset | Reproducible test scenarios | Static once set |
| Real weather | Online data feed | Realistic voyage planning | Requires internet, conditions shift mid-trip |
| Dynamic | Sim engine + forecast | Long campaigns | Forecast layer still WIP |
| Storm preset | Built-in | Testing heavy-weather handling | Damages smaller vessels faster |
Weather-Driven Routing Decisions
Wind, visibility, and sea state each change the math of a passage. A 25-knot beam wind against a 200-meter ship adds leeway that can push you 0.3 nm off track per hour, and a fog bank drops visual range to a few hundred meters, which makes every lights encounter guesswork. The professional ship simulator weather tips that experienced captains share boil down to three rules: check the broadcast before departure, choose a route that gives you sea room, and never be afraid to heave to.
| Condition | Effect on Voyage | Recommended Adjustment |
|---|---|---|
| Wind 15-20 kt, beam | Leeway 0.2-0.4 nm/hr | Aim 0.5 nm upwind of waypoint |
| Wind 20-30 kt, bow-on | Slow, pitchy | Reduce speed by 1-2 knots |
| Visibility under 1 nm | Radar only | Slow to 5 kt, sound fog signal every 2 min |
| Thunderstorm cell ahead | Lightning, gusts | Divert 30°, wait 20 min, resume |
| Heavy snow / ice | Buoys obscured | Use radar reflectors, slow to 3 kt |
| Following sea | Yaw instability, broaching risk | Alter course 10° to quarter seas |
The Weather Broadcast System page confirms that channel 20 is the standard for the current report and that the ship panel mirrors the same data. If you want a quick sanity check before departure, dial 20 first, then plot, then undock. That order prevents you from committing to a route that the current weather will punish.
Frequently Asked Questions
How do I open the nautical chart in Professional Ship Simulator?
Press the chart toggle on the bridge panel, usually bound to a key near the radar controls. The chart opens as a 2D overlay; you can pan with the mouse, zoom with the wheel, and drop waypoints by left-clicking on the chart surface. The chart will remember your last filter settings between sessions.
Where can I find the give-way rules reference during a voyage?
The COLREGs summary is in the in-game help under Bridge → Rules of the Road, and the same summary is reproduced on the AI Traffic knowledge base page. For quick recall, the aspect rules table in this guide covers roughly 90% of the encounters you will face in career mode.
Can I change weather conditions mid-voyage?
Yes, but with restrictions. You can open the pause menu, switch to a custom weather preset, and the dynamic mode will deactivate. However, in some scenarios and during campaign mode, the option is grayed out and weather changes are not permitted. This is a known work-in-progress limitation flagged on the Weather Modes wiki entry.
What lights should a vessel at anchor show?
A single all-round white light visible from every direction. If you are anchored and the bridge panel still shows your underway lights, other captains will assume you are moving and will not give you the wide berth an anchored vessel is entitled to under the rules.
Do shipping lane boundaries reset if I cross them illegally?
The boundary is a hard rule, not a soft suggestion. The penalty system logs a violation, the AI may treat you as a hazard, and in dense traffic you can be blamed for a collision that resulted from your own lane crossing. Reset by pausing, returning to the last legal waypoint, and resuming from there.