
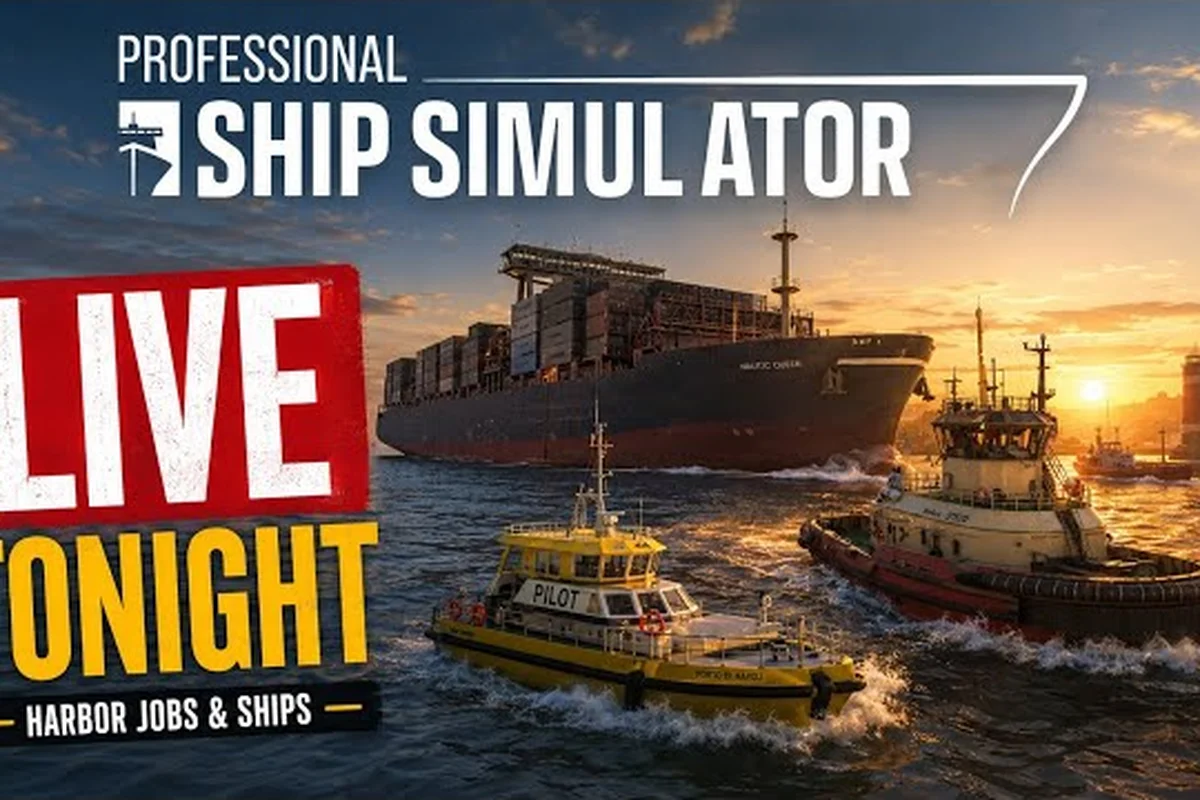
Reading the seafloor before you commit a hull to it is the single biggest differentiator between a captain who finishes a voyage and one who wakes up aground in the entrance channel. In Professional Ship Simulator, the chart overlay, draft readout, and tidal safety margin decide which harbours you can safely approach, where the dry-dock repair queue is reachable, and which starting port matches your first license tier. This guide walks through the depth data layer in the current Early Access build, maps the dry-dock harbours currently confirmed by the community, and shows new captains how to pick a starting port that won't punish them on day one.
How Professional Ship Simulator Depth Data Works on the Chart
Professional Ship Simulator depth data is delivered through a layered chart interface that stacks water depth, your vessel's loaded draft, and tidal offset into one visible risk readout. The system draws directly on real-world bathymetry for the default Island of Rügen and English Channel sets, so the numbers you see on the chart correspond to actual surveyed soundings rather than a stylized game map. According to the official NauticXP ship panel reference, every chart reference takes tidal conditions into account, and a safety margin must be applied whenever the tide shifts between departure and arrival.
Reading the Chart Layers
The chart defaults to a base bathymetric layer, then layers in your ship's draft from the Ship Panel and any active tidal correction. Three colors are worth memorizing: the deepest blues mark channels you can transit with a fully laden cargo hull, the mid-range teal covers harbor approach lanes, and the pale fringes show shallows that look deceptively passable but will stop a loaded trawler dead. The chart refreshes in real time, so the moment your cargo load changes, the safe corridor visually shifts.
For captains who prefer the official tooling, external route files in .gpx format can be authored in OpenSeaMap or OpenCPN and imported directly into the route manager. This is the cleanest way to verify a long approach before you leave the berth, and it lets you draw a planned track that already accounts for known shallow patches.
Draft, Tide, and the Safety Margin
A loaded hull is judged by the UKC (Under Keel Clearance) — the gap between the lowest protruding part of your ship and the seabed. The simulator applies your static draft from the Ship Panel and then adds a tidal offset based on the local tide table; wherever the chart turns from passable blue to barred red, you have dropped below the safe UKC for that section. The Knowledge Base calls this out specifically: an overloaded ship that tries to force a shallow approach can be killed by draft alone, and harbours with strong tidal swings are only approach-able in a specific tidal condition.
The practical rule from community playtesters is to keep at least 0.5 m of UKC under the keel at the lowest point of your planned transit, and 1.0 m or more in narrow channels or harbor entrances where bank effect and squat can rob you of margin. New captains routinely underestimate squat, which is the small additional sinkage that happens when a hull moves through shallow water at speed — slow to bare steerage way when the chart turns pale.
Dry-Dock Repair Harbours and How the VHF Request Works
Dry-dock repair in Professional Ship Simulator is the canonical way to fix collision damage, grounding wounds, and engineering failures. According to the Ship Repair Knowledge Base entry, the dry docks are concentrated at the larger harbours and can accept small to medium-sized vessels, with the gates opening automatically once you arrive at the designated entry position and shut down your main engines.
Calling the Dock on VHF
The dry-dock workflow is intentionally close to real pilotage. You hail the dock on VHF, receive the entry position, and hold station outside the gate at a safe distance until the dockmaster confirms. The gates open automatically when you cross into the correct entry box, and the repair sequence is initiated only after you shut down main engines. Skipping that engine shutdown is the single most common reason a first-time repair mission fails — the dock treats the running engines as a "not yet ready" signal and refuses to start work.
| Step | Action | Common Failure |
|---|---|---|
| 1 | Hail dry dock on VHF Channel 14 | Calling on the wrong channel |
| 2 | Receive entry position and approach heading | Ignoring the assigned heading |
| 3 | Hold station outside the gate at safe distance | Crowding the gate threshold |
| 4 | Cross into entry box; gates open automatically | Approaching before VHF handshake |
| 5 | Shut down main engines to start repair | Leaving engines running, repair stalls |
| 6 | Wait for repair timer to complete | Disengaging before the timer ends |
Where the Dry Docks Actually Sit
Community testing through the Early Access beta has confirmed dry-dock locations in the larger harbours of both the Rügen and English Channel map sets. Smaller fishing harbours and yacht marinas do not have working docks in the current build, so a serious engineering failure mid-voyage usually means a detour to one of the bigger ports.
| Map Region | Confirmed Dry-Dock Harbours | Vessel Class Accepted | Notes |
|---|---|---|---|
| Island of Rügen | Sassnitz, Stralsund, Rostock | Small to medium hulls | Best for trawler and patrol boat repair |
| English Channel | Ramsgate, Dover, Calais | Small to medium hulls | Higher traffic; tighter approach windows |
| Baltic Set (mod) | Kiel, Wismar, Lübeck | Small to medium hulls | Requires the modded Baltic map |
If you want a broader survey of high-traffic ports beyond the dry-dock angle, the best harbour guide for Professional Ship Simulator breaks down mission generation by port and pairs nicely with this chart-side view. That guide answers the commercial question this one deliberately skips: which quays weight their contract pool toward small hulls, where the high-paying platform and wind-farm runs actually originate, and how much berthing space a mid-size harbour reserves for free-roam practice. Read the two together and you get both halves of the picture — whether a harbour is physically safe for your draft, and whether it is financially worth the detour.
Picking a Starting Harbour for Your First License
Your Professional Ship Simulator starting harbour has an outsized effect on how painful the first ten hours feel. The starting port determines which missions generate, what harbour infrastructure is reachable for early repairs, and how forgiving the entrance channel is when you're still learning to read the chart. Picking the wrong one is a fast way to spend your starter bank on tow fees.
Comparing the Three Default Starting Options
Every new captain picks from the same three default harbours at the start of Career Mode, and each one has a different depth-data and repair profile. Smaller harbours look charming but they expose you to a tighter entrance, weaker dry-dock coverage, and limited mission variety. The largest hub is the safest pick for new players, but it can feel crowded in the first week after launch.
| Starting Harbour | Entrance Difficulty | Dry-Dock Access | Mission Variety | Recommended For |
|---|---|---|---|---|
| Small fishing port | High (narrow, shallow) | None | Low | Experienced captains only |
| Mid-size commercial harbour | Medium | Yes (small hulls) | Medium | Returning players who want a challenge |
| Major commercial hub | Low (wide, deep) | Yes (small + medium) | High | First-time captains, Career Mode |
If you are still working out where to start, the starting harbour decision guide covers mission generation, free-roam access, and the offshore wind farms that pair well with a deep-water start. The short version is that entrance depth and contract density pull in opposite directions: the cosiest fishing ports sit behind the shallowest entrances, while the deepest commercial hubs generate the widest spread of work. Match the decision to your first licence tier rather than to the scenery, then revisit it once you can run cargo at full draft.
Matching Your Hull to the Entrance
A trawler draws far less than a small freighter, but even trawlers can be killed by a poorly timed approach. The chart layer is your friend here: when you first load into a new harbour, take five minutes to orbit the entrance in free-cam and check the pale fringe zones against your draft readout. If the fringe crosses your draft line, you are looking at a harbour that requires a specific tidal window — useful to know, but punishing if you don't.
For a smoother first run, set the Draft Display to show the loaded depth plus a 0.5 m safety buffer before you ever leave the berth. This is the single most useful chart setting a new captain can toggle, and it stays useful long after you've upgraded past the starter licence.
Reading the Chart Interface During a Real Approach
A chart is only as useful as your ability to read it under pressure, and the approach phase is where most depth-related mistakes happen. Professional Ship Simulator gives you three separate chart readouts — the harbour chart, the radar overlay, and the AIS contact list — and learning to cross-check them is what separates a careful approach from a panicked one.
Cross-Checking the Chart Against Radar
The chart shows you the static depth picture, while the radar shows you the dynamic traffic picture. The two should agree on your position; if the radar places you inside a shallow patch that the chart labels as deep, you have either a draft error (you loaded more cargo than the panel shows) or a tidal swing you didn't account for. The standard play is to slow to bare steerage, recheck the Ship Panel, and re-verify the tidal offset from the harbour's VHF broadcast.
For captains who want to deepen the watchkeeping side, the manoeuvring and harbour approach guide covers tug coordination, line handling, and the moment you should stop trusting the chart and start trusting the lookout. Those skills matter disproportionately once draft is no longer the limiting factor: a cross-checked depth picture still will not tell you that a tug is about to take your bow, or that wind is pushing a light hull faster than rudder authority can answer. Treat the depth layer as the first gate and the watchkeeping routine as the second.
Using AIS and CPA/TCPA on Approach
The AIS contact list names every nearby vessel, shows their course and speed, and computes the closest point of approach (CPA) and time to closest point of approach (TCPA) for each. On a tight entrance, you set the CPA alarm to roughly 0.2 nautical miles and the TCPA alarm to about 5 minutes, and any contact that crosses both thresholds becomes a priority for the helm. Most harbour collisions in Early Access come from a captain who trusted the chart but ignored the AIS, so treat the AIS as the dynamic layer that the chart cannot show.
The same habit is useful for the final docking phase. If you're already in the approach corridor, the docking tutorial picks up where this chart-side work ends, covering lines, berthing speed, and how to recover from a missed approach without colliding with the breakwater.
Tidal Windows, Mission Timing, and Map Expansion Considerations
Tidal windows are the hidden boss of the harbour system, and they interact directly with mission timing, repair availability, and how future map expansion will change your starting port calculus. The current Early Access build ships with a working tide model on both default regions, and the dev team has flagged additional tidal coverage as a priority for the post-1.0 patches.
Tidal Windows and Repair Scheduling
Some harbours are only safely approachable in a specific tidal condition, and the dockyard VHF will warn you when you call at the wrong moment. The practical implication is that a grounding damage event during an outgoing tide can leave you stranded until the next high water, which can be 6–12 hours of Career Mode time away. Most captains keep a small reserve of in-game cash specifically for these delays, and a few even pre-position a tug-equipped friend at the nearest safe harbour.
| Tidal Condition | Approach Feasibility | Repair Queue Effect |
|---|---|---|
| High water, slack | Best — full draft clearance | Shortest wait, gates open immediately |
| Ebbing tide | Marginal — UKC drops fast | Possible dock delay, monitor VHF |
| Low water, slack | Worst for loaded hulls | Dock may refuse entry until next high |
| Flooding tide | Good for outbound runs | Gate open, but watch bank effect |
If you're juggling missions across a tide-locked harbour, it helps to think of the schedule in two halves: the first half of the in-game day covers flood-friendly departures, the second half covers ebb-friendly arrivals. Most Career Mode captains quickly learn to plan routes that depart on a flooding tide and arrive on a high-water slack, which removes most of the chart-side risk.
How Map Expansion Changes the Equation
The Professional Ship Simulator map expansion plan covers the Island of Rügen as the launch region, the English Channel as the secondary region, and a Steam Workshop pipeline for community-built harbours and charts. The default map at launch is a curated subset designed to keep the chart data manageable; the modded map guide walks through how to add real-world charts and community-built regions without breaking the depth data layer.
For Career Mode, the practical takeaway is that a starting harbour matters less once you've unlocked free-roam. A captain who plans a route from a small starting port through a mid-size commercial hub to a major dry-dock harbour can use the early licence to grind small-craft missions, then graduate to long-haul cargo runs once the deeper-water harbours are reachable. The chart data follows you regardless of which region you're sailing in, so investing time in learning the depth layer now pays off across every map the team ships post-1.0.
Frequently Asked Questions
Where can I find dry-dock repair in Professional Ship Simulator?
Dry docks are located at the larger harbours on both default maps, including Sassnitz and Stralsund in the Island of Rügen region, and Ramsgate and Dover in the English Channel set. You request entry by hailing the dock on VHF, then hold outside the gate until it opens automatically. Smaller fishing harbours do not have working dry docks in the current Early Access build.
How do I read Professional Ship Simulator depth data on the chart?
The chart layers real bathymetry with your loaded draft and any tidal offset. Deeper blues mark channels safe for a fully laden hull, mid-range teal covers standard harbour approaches, and pale fringes show shallows that will stop a loaded trawler. Always keep at least 0.5 m of under-keel clearance at the lowest point of your transit, and 1.0 m in narrow channels.
Which starting harbour should I pick as a new captain?
The major commercial hub is the safest starting harbour for new Career Mode captains, with a wide and deep entrance, confirmed dry-dock access for small and medium hulls, and the highest mission variety. Mid-size commercial harbours are a fair challenge for returning players, while small fishing ports are best left to experienced captains who can read a narrow entrance quickly.
Do I need to shut down my engines to start a dry-dock repair?
Yes. The repair sequence only begins after you cross into the entry box, the gates open, and you shut down your main engines. Leaving the engines running is the most common reason a first-time repair stalls, because the dock treats running engines as a "not yet ready" signal and will not begin the repair timer.
Will future map expansion add more dry-dock locations?
The dev team has flagged additional tidal and harbour coverage as a priority for the post-1.0 patches, and the Steam Workshop pipeline already allows community-built harbours with custom depth data. Players who want new dry-dock harbours today can subscribe to the Baltic Set mod, which adds Kiel, Wismar, and Lübeck with confirmed small-to-medium hull repair access.