
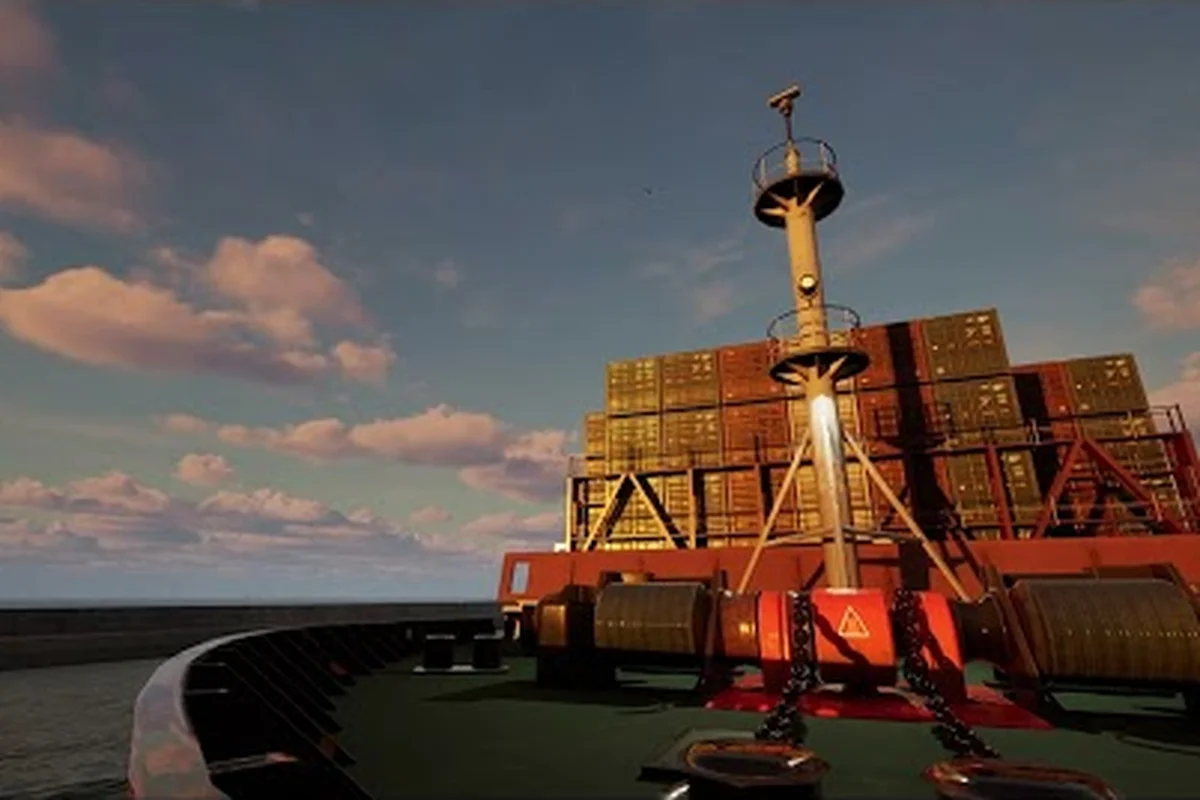
Berthing a vessel cleanly in Professional Ship Simulator is the single most-requested skill from new captains, and it sits at the heart of the game's ship handling system. This Professional Ship Simulator how to dock guide walks you through every phase of a harbour approach — from radar contact acquisition to the final tightening of mooring lines — using the same procedures the in-game tutorial and community resources describe. Whether you are stepping into a small harbour with a fishing trawler or nudging a cruise ship against a concrete pier, the mechanics follow a predictable pattern, and learning that pattern early removes most of the frustration that beginners report on day one.
The goal of this docking tutorial is not just to get you alongside the quay once. It is to give you a repeatable mental checklist that survives changing weather, different vessel classes, and the limited visibility of night operations. By the end, you should be able to walk into any berth the game offers, set up your approach, deploy mooring lines, and leave the jetty without scraping paint or snapping a line.
Preparing Before You Approach the Berth
Every successful docking in Professional Ship Simulator begins long before the bow points at the pier. Skipping preparation is the number-one reason new pilots end up sideways across the fairway, and the docking panel documented in the official knowledge base rewards players who set things up in order rather than rushing the final metres.
Reading the Harbour Briefing and Charts
When you accept a docking task, the game provides a harbour briefing that lists the assigned berth, expected wind direction, tidal notes, and the mission type (commercial cargo, ferry run, tug assist, or passenger turnaround). Treat this briefing as a contract. Note the berth number, then look at the chart overlay so you can identify the turning basin, the approach channel, and any one-way segments that restrict your heading. The chart also marks the speed-limit buoys that mark the harbour entrance; the channel speed limit is almost always lower than your vessel's cruise speed, so plan a throttle reduction well in advance.
| Briefing Item | Why It Matters | Action |
|---|---|---|
| Assigned berth | Confirms which pier face and orientation you need | Plot a waypoint on the berth entrance |
| Wind direction | Affects drift, line tension, and pier-side choice | Decide port-side or starboard-side tie-up |
| Tidal note | Tells you if you have a fair or foul current | Plan approach with the current, not against it |
| Mission type | Determines time-on-berth and reward | Stage cargo or passenger manifests early |
Configuring Radar, Compass, and Waypoints
Open your bridge panel and confirm that radar range is set to roughly 2–4 nautical miles for the approach, then narrow it to 1 nautical mile as you close the harbour mouth. Set the Compass Repeater to magnetic, not gyro, because the harbour charts read magnetic. Place a waypoint on the berth entrance, a second waypoint about 200 metres astern of the berth to mark your pivot point, and a third on the centreline of the pier face. These three waypoints act as a visual script that you can follow without staring at the minimap.
If you are still learning the controls themselves, the Professional Ship Simulator beginner guide covers panel layout and basic throttle commands, which makes the rest of this tutorial much easier to absorb. It is worth the detour before your first real docking attempt, because the panel layout decides where the telegraph detents and thruster toggles sit under your cursor, and fumbling for them mid-approach is how most beginners end up sideways across the fairway. Ten minutes of practice in free roam pays for itself on the first commercial contract.
Crew, Engines, and Tug Readiness
Before casting off from open water, brief your virtual crew via the radio menu, even if you are solo. Assign a line handler to the bow and stern, request a tug if the vessel is over 100 metres, and verify that bow and stern thrusters are functional. According to community testing, the in-game tug AI responds more reliably when you call it at least 1,500 metres from the berth rather than 200 metres, so the call goes out well before the charted turning basin.
The Approach Phase: Lines, Speed, and Heading
The approach phase is where ship handling actually begins, and the difference between a clean arrival and a collision is almost always a matter of three numbers: speed over ground, heading, and lateral distance from the pier. The game's tutorial system flags this phase as the place where most students stall, so plan to spend extra time here.
Controlling Speed Over Ground (SOG)
Sail into the harbour entrance at no more than 6 knots for small craft and 4 knots for larger vessels. Use the engine telegraph in single-knot increments rather than slamming from full ahead to dead slow, because the simulator models momentum with a delay of about three to five seconds between command and response. The professional handling rule of thumb is to reach the berth entrance at 2 knots or less, with the engine ready to go astern without lag. If you arrive faster than that, circle outside the channel in the turning basin and try again.
| Vessel Class | Approach Speed at Harbour Mouth | Final Speed at Berth Entrance |
|---|---|---|
| Small fishing / pilot boat | 6–8 knots | 1–2 knots |
| Trawler / coastal cargo | 5–6 knots | 1 knot |
| Ferry / mid-size cargo | 4–5 knots | 0.5–1 knot |
| Cruise ship / large bulk | 3–4 knots | Below 0.5 knot |
Maintaining Heading with Rudder and Thrusters
As you close the pier, your heading must align with the berth's centreline before you are within 50 metres of the quay. Use small, corrective rudder inputs of 5–10 degrees rather than hard-over 35-degree kicks, because over-correction is the most common cause of the bow swinging past the pier face. The bow thruster is your friend for sideways adjustments, but the stern thruster is what stops the back of the ship from drifting away from the dock on a crosswind. Alternate them in short bursts, then centre both, then read the result.
The game rewards patience here, and according to the official tutorial on the official NauticXP tutorials index, the docking system deliberately punishes players who try to brute-force a berth with full rudder and full throttle at the same time. The practical takeaway is to separate the two controls: kill speed first with the telegraph, let the hull settle through the three-to-five second response delay, and only then apply rudder. Captains who alternate between throttle and wheel inside a single correction usually overshoot the centreline and have to begin the alignment again from further out.
Mooring Lines and the Docking Panel
Once the hull is alongside and parallel to the pier, the next phase shifts from navigation to line handling. The Docking Panel described in the official docking panel documentation is the single most useful tool for this step, because it lets you drop lines from any mooring point to the nearest land mooring without manually threading each rope.
Opening the Docking Panel and Selecting Line Type
Press the docking panel hotkey (default B on keyboard, or the right bumper on controller) to bring up the mooring overlay. You will see every chock and bollard on your vessel highlighted, and the corresponding bollards on the pier highlighted as well. Click a mooring point on the ship, and the line automatically extends to the closest land point. Before dropping, open the line-type dropdown to select the appropriate rope. For small vessels in calm weather, standard mooring line is fine; for cruise ships or windy berths, switch to a heavier line, because the diameter, material, and maximum line length all change with the selection, which also affects the maximum line strength under tension.
| Line Type | Best Use | Maximum Strength | When to Pick It |
|---|---|---|---|
| Standard mooring | Calm harbours, small vessels | Low | Daylight, light wind, training runs |
| Heavy mooring | Cruise ships, exposed berths | High | Wind above 15 knots, swell present |
| Spring line (heavy) | Preventing fore/aft drift | Very high | Long pier stays, tidal berths |
| Emergency line | Breakaway situations | Variable | Only when prompted by mission |
Tightening Lines with the Mouse Wheel
After a line drops, it will sag into the water with a status of "slack." Scroll the mouse wheel up to take in line, and the status updates in real time: slack → working → tight. Stop at "tight" — going past that risks a snap under load, especially in heavy weather. Repeat for the bow line, the stern line, and at least two springs. A four-point moor (two spring lines plus bow and stern) is the bare minimum for any vessel over 30 metres; cruise ships require six or more. Drop and tighten in this order: bow spring first, then bow headline, then stern spring, then stern headline, because this sequence keeps the ship's fore-and-aft drift locked down before you start fighting lateral movement.
If you are struggling with line management because the panel feels overwhelming, the Professional Ship Simulator ship handling walkthrough breaks the same procedure into a slower-paced checklist format that pairs well with this section.
Ship Handling Differences by Vessel Type
Not every vessel responds to the same inputs, and the game deliberately models a wide handling envelope so that the docking tutorial you learned on a tug does not transfer cleanly to a ferry. Recognising these differences early saves dozens of retry attempts.
Small Vessels: Fishing Boats and Tugs
Small craft are the easiest to dock because they pivot quickly, respond instantly to the rudder, and can stop in their own length at low speed. The trade-off is that they are also more sensitive to wind and current, so you will see the bow wander more than on a heavy ship. Use bursts of throttle to maintain way, and use the bow thruster to nudge the stern into line as you approach. A fishing boat under 20 metres can usually be berthed with two lines plus a spring, and the entire operation takes under two minutes once you are alongside.
Mid-Size Vessels: Ferries and Coastal Cargo
Ferries and coastal cargo ships sit in the middle of the handling spectrum. They are heavy enough to resist wind, but they carry momentum that takes longer to bleed off, so plan your speed reduction earlier than you would for a tug. The bridge is usually positioned forward, which means your visual reference for the bow is closer to the camera, but the stern — often the harder end to judge — sits farther back. Use the charted waypoints and the rudder angle indicator together rather than relying on the bridge view alone.
Large Vessels: Cruise Ships and Bulk Carriers
Large vessels change the docking problem entirely. Approach speed must be in fractions of a knot, the rudder takes ten seconds or more to bite, and a single tug is rarely enough. Call two tugs if the mission allows it: one forward to control the bow, one aft to push the stern into the berth. Use the engines for fine lateral adjustment only, and let the tugs do the heavy pushing. According to community reports, players who skip the second tug on cruise-ship berthings often end up overshooting by 20–30 metres because there is not enough transverse force to overcome a crosswind. The Professional Ship Simulator cruise ship breakdown includes a chart of tug call-out distances that lines up with what most experienced captains use.
| Vessel Class | Minimum Lines | Typical Tugs | Time to Berth |
|---|---|---|---|
| Fishing / pilot | 2–3 | 0 | 1–2 minutes |
| Ferry / coastal | 4–6 | 1 | 3–5 minutes |
| Cruise ship | 6–10 | 2 | 6–10 minutes |
| Large bulk carrier | 8–12 | 2–3 | 8–12 minutes |
Weather, Visibility, and Emergency Scenarios
The harbour briefing is rarely the whole story. Wind, swell, fog, and emergency conditions all change the approach, and the game tests each of them across the mission roster. A reliable berthing guide has to cover the variations, because the procedure that works on a calm day can put you hard aground when the weather shifts.
Berthing in Strong Crosswind
A crosswind above 15 knots will push the bow off-line as you close the pier, and the higher the freeboard, the more sail area the wind has to act on. The fix is to over-compensate on the upwind side: aim the bow 5–10 degrees into the wind, then let the wind bring you parallel as you lose way. Drop the bow line first in this scenario, because the wind will hold the ship against the pier once the headline is taut. Spring lines become essential to prevent the stern from blowing off.
Berthing in Fog or Low Visibility
When visibility drops, radar becomes your primary reference. Switch to a 0.5-mile range and overlay the harbour chart so the pier face appears on the same screen as the radar return. Reduce approach speed by half and call a standby tug if the mission offers one, because the tug pilot can talk you onto the berth. The game's audio cues — a horn blast when you cross the 100-metre mark, a second blast at 50 metres — also exist specifically to help in low-visibility conditions, so keep the master volume up.
Emergency Berthing and Engine Failure
If your engines fail mid-approach, the only option is to anchor before you lose steerage, then drift to the berth under controlled conditions. Drop the anchor using the anchor hotkey (default N) at least 200 metres from the pier, let the chain pay out, and the vessel will slow and eventually stop. From there, a tug can push you the rest of the way. According to the mission roster, the emergency response task in the advanced tutorial is built specifically around this scenario, so practising it once saves you when it happens for real.
Common Mistakes and How to Recover From Them
Even experienced captains make mistakes, and the difference between a setback and a disaster is knowing how to back out of a bad approach. The following are the errors that community testing and the official tutorial both flag as the most frequent.
Arriving Too Fast
If you reach the berth entrance above 3 knots and you are not in a small vessel, abort the approach. Circle back into the turning basin, drop speed to below 2 knots, and try again. Trying to "muscle through" a fast approach almost always ends with a contact between hull and pier, which the game counts as a mission failure for commercial cargo tasks.
Forgetting the Spring Lines
Skipping spring lines is the single most common reason that berthed vessels drift away from the pier in crosswind or current. Bow and stern headlines stop fore-and-aft motion, but only a spring line — running at an angle from the bow to a midpoint on the pier — stops the ship sliding sideways. Drop and tighten at least one forward spring and one aft spring every time, regardless of weather.
Misjudging Lateral Distance
The camera angle on the bridge view can be deceptive, especially on cruise ships where the bridge sits far forward. Use the chart overlay and the minimap, not just the visual, to confirm your lateral distance from the pier. If the minimap shows the hull 30 metres off the pier but the camera looks close, trust the minimap.
Frequently Asked Questions
What is the easiest vessel to learn docking on in Professional Ship Simulator?
Small fishing boats and pilot vessels under 20 metres are the easiest, because they pivot quickly, respond to small rudder inputs, and stop in their own length at low speed. Once you can berth a small craft cleanly, the same mental checklist transfers to larger vessels with longer timing.
How many mooring lines do I need to drop before the docking mission counts as complete?
A minimum of four lines — bow, stern, and two springs — is required for a clean berth. Cruise ships and bulk carriers need six or more depending on the mission parameters, because heavier vessels generate more mooring load under wind and current.
Can I dock without calling a tug on a large vessel?
Technically yes, but it is unreliable. Community testing shows that a single tug is the practical minimum for ferries, and cruise ships usually require two. Skipping the tug on a large vessel often ends in overshoot or pier contact during the final metres.
What is the best speed to enter the harbour at?
Between 4 and 6 knots for most mid-size vessels, and 3–4 knots for cruise ships, where the mass makes momentum brutal to arrest. The exact number depends on wind and current, but arriving above 6 knots at the harbour mouth almost always forces a go-around, because the stopping distance at that speed exceeds the safe length of the approach channel.
How do I fix a berth where the bow is too close to the pier?
Shift the engine briefly ahead to walk the bow off, then re-tighten the lines. Alternatively, use the bow thruster to push the bow outward in short bursts. The key is to avoid full rudder input, which swings the stern in the opposite direction and makes the situation worse.