
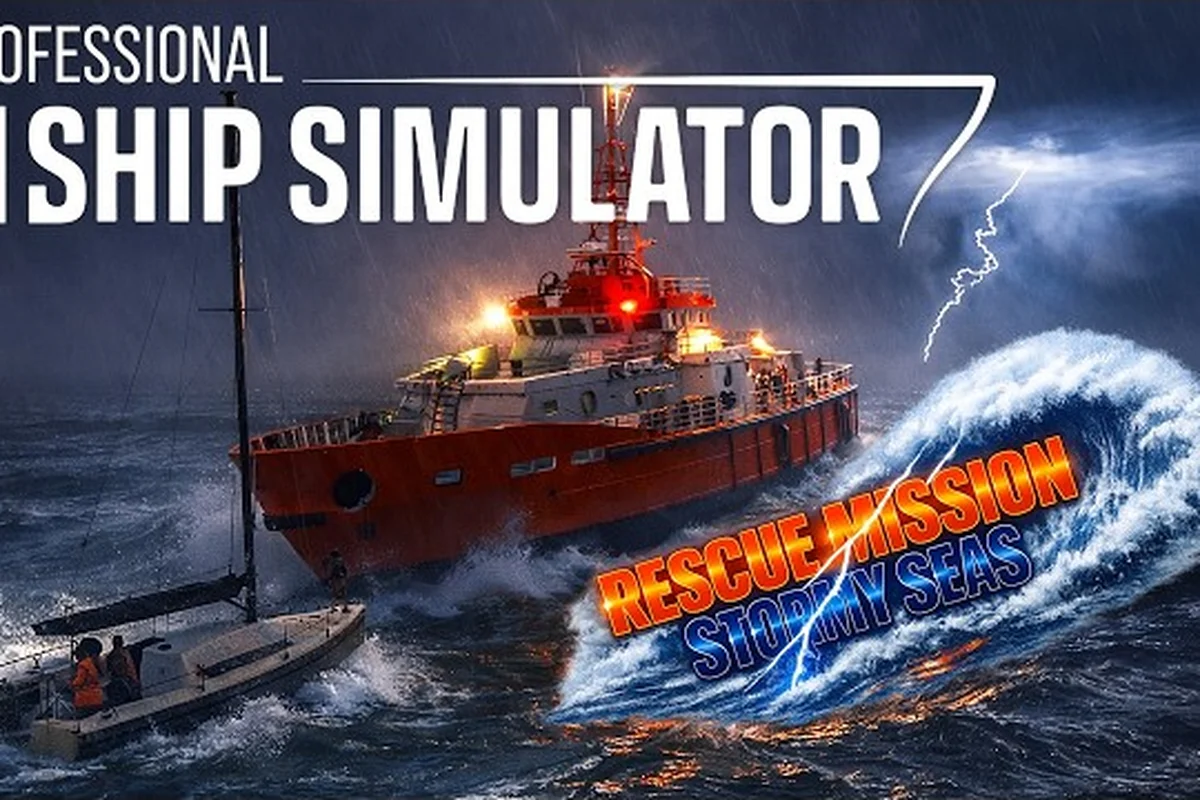
The Professional Ship Simulator maps span two of northern Europe's busiest sealanes, and knowing their layout determines whether you finish a tow job in one tide or run aground on a sandbar you never saw on the chart. According to the official Steam news hub, the playable world covers the Rügen coast in the Baltic and the Strait of Dover in the English Channel, stitched together with more than 40 ports that serve as mission hubs, repair docks, and free-roam anchor points. Whether you are running a career cargo run or just exploring the open sea, the map system shapes every decision you make on the bridge.
Understanding the Two Core Regions
The Professional Ship Simulator regions are not one continuous map but two distinct open-world zones connected through a career-mode selection screen. Each region runs its own weather engine, depth model, and AI traffic pattern, which means route planning in Dover looks nothing like cruising the sheltered bays around Rügen. Community reports from the demo period (verified September 2026) confirm that the developers at Nautic XP designed the two regions to feel operationally different, not just geographically different.
Region Overview at a Glance
| Attribute | Rügen (Baltic Sea) | Strait of Dover (English Channel / North Sea) |
|---|---|---|
| Sea body | Semi-enclosed Baltic | Open tidal channel |
| Port count (approx.) | 18+ | 22+ |
| Typical visibility | Moderate, coastal haze | Variable, heavy shipping haze |
| Tidal range | Low (micro-tidal) | High (macro-tidal, up to 7 m) |
| Dominant mission types | Pilotage, harbor maneuvering, coastwise cargo | Towing, offshore supply, rescue |
| Recommended starting license | Coastal | Pilotage (after Career Mode unlock) |
| Chart accuracy | Real-world 1:50,000 series adapted | Real-world 1:75,000 series adapted |
The Strait of Dover region is the busier of the two because it sits on the world's busiest shipping lane. According to community testing on the September 2026 demo build, Dover-area traffic density can hit 30+ AI contacts per hour during peak simulation time, which makes the open-water stretches feel almost like a real pilotage. The Rügen region trades traffic density for tighter pilotage corridors, with the chalk cliffs of Kap Arkona and the spa-town harbor of Binz forcing you to stay alert at slower speeds.
If you want a deeper breakdown of the port-by-port layout in each region, the Professional Ship Simulator Island of Rügen and Dover port list guide covers every harbor call with chart screenshots and approach notes. It is the fastest way to compare entrance widths and berth depths side by side before you commit a heavy hull, and it flags which quays publish a pilot boarding ground on the chart rather than burying it in the mission briefing. Use it alongside the region table above when you are weighing whether a cross-region contract is worth the transit time.
Why the Map Split Matters
The dual-region structure is more than a loading-screen gimmick. Because Dover and Rügen sit in different sea bodies, they use different chart datum references, different VTS (Vessel Traffic Service) call procedures, and different buoyage conventions. Players who only learn the IALA-A system used in the Baltic often get confused when they cross into the IALA-B system used around the Strait of Dover, and vice versa. This split is one of the most commonly reported sticking points among new players in the Steam community discussions.
Chart System and Depth Data Coverage
The Professional Ship Simulator maps are built on adapted real-world hydrographic data, which is why the depth contours feel so much sharper than in most arcade ship games. The chart system layers bathymetric soundings, depth contours, navigational aids, restricted zones, and wrecks on top of a satellite-derived coastline. Understanding how to read these layers is the single biggest skill that separates Career Mode commanders from casual sightseers.
Chart Feature Layer Reference
| Chart Layer | Default Visibility | What It Shows | Use Case |
|---|---|---|---|
| Depth contours | On | Isobaths at 2, 5, 10, 20 m | Route planning around sandbanks |
| Soundings | Off (toggle) | Individual depth numbers in meters | Pinpoint anchoring decisions |
| Buoys and beacons | On | IALA-A and IALA-B marks | Visual pilotage |
| Restricted zones | On | Cable areas, military zones, no-wake | Compliance with mission rules |
| Wrecks and obstructions | On | Submerged hazards | Avoidance in poor visibility |
| Traffic separation schemes (TSS) | On | Lane boundaries in Dover | Crossing the channel safely |
| Pilot boarding grounds | Off (toggle) | Yellow P flags offshore | Career Mode unlock trigger |
Players who toggle the soundings layer on before plotting a long route report a noticeably lower grounding rate, because the contour lines alone do not always reveal isolated shallow patches. The Dover region in particular has a notorious shifting sandbank complex off the Goodwins that catches pilots who assume the 10 m contour is a safe shipping lane.
For specific guidance on reading the depth numbers and using them to find a safe anchorage, the Professional Ship Simulator depth data and repair harbor locations reference walks through the actual soundings around the most-visited harbors. It pairs the raw depth numbers with the anchoring decisions they imply, so you can tell the difference between a contour line that is merely close to your draft and one that will actually stop the hull. Read it before you attempt a first anchorage in the Dover region, where shifting banks off the Goodwins make contour-only planning genuinely risky.
Port Locations, Harbors, and Mission Hubs
More than 40 ports dot the Professional Ship Simulator locations, and each one serves a different operational role. Some are commercial hubs with active cargo missions, some are dedicated repair harbors with dry-dock access, and a few are quiet fishing harbors used as free-roam anchor points. The ports are modeled with real-world pier layouts, which means the dock approach you practiced at Sassnitz transfers almost directly to a real Baltic pilotage.
Major Port Roles by Region
| Port | Region | Primary Function | Notable Feature |
|---|---|---|---|
| Sassnitz | Rügen | Ferry and cargo terminal | Deep-water Roro berth |
| Binz | Rügen | Cruise and tourism | Tight turning basin |
| Stralsund | Rügen (mainland access) | Repair and dry dock | Full shipyard services |
| Kap Arkona | Rügen | Pilot station and lighthouse | Rugged cliff approach |
| Dover (harbor) | Strait of Dover | Cross-channel ferry | Iconic white cliffs backdrop |
| Ramsgate | Strait of Dover | Towage and pilot | Strong tidal stream |
| Calais | Strait of Dover | Commercial cargo | High-traffic lock entrance |
| Folkestone | Strait of Dover | Fishing and leisure | Inner harbor drying moorings |
| Boulogne-sur-Mer | Strait of Dover | Fishing and commercial | Large fishing fleet |
| Ramsgate Approach | Strait of Dover | Pilot boarding ground | TSS crossing point |
The Stralsund yard is the most important starting port in the Rügen region because it is where you dry-dock for hull repairs and engine overhauls. According to community reports, the demo build gates some Career Mode license upgrades behind specific dry-dock visits, so beginners should plan at least one Stralsund stop early.
If you are still figuring out where to begin, the Professional Ship Simulator beginner guide covers how to chain your first missions between Stralsund and Sassnitz without burning through your starting fuel budget. It also spells out which early contracts are worth refusing, how the first licence exam is structured, and the docking drills worth repeating before you accept anything longer than a coastwise run. New captains who follow that sequence tend to reach their second licence tier without a single tow-back.
Navigation Hazards and How to Avoid Them
The Professional Ship Simulator regions are not forgiving. The same adapted real-world hydrographic data that makes the charts feel authentic also exposes you to the same sandbanks, wrecks, and TSS crossings that real pilots study for years. New players often blame the simulator for unfair groundings when in fact they crossed a 3-meter patch at high speed without checking the soundings.
Common Hazard Categories
| Hazard Type | Where It Bites | Best Avoidance Practice |
|---|---|---|
| Shifting sandbanks | Off the Goodwins, Thames Estuary approaches | Cross at high water, slow to 6 knots |
| TSS crossing penalties | Mid-channel Dover traffic | Use inshore traffic zone only when authorized |
| Rocky outcrops | Kap Arkona, Swedish coast counter-side | Stay on the marked pilotage track |
| Restricted military zones | Approach to selected Baltic bays | Read mission briefing chart inserts |
| Tidal overfalls | Race of Dover, off Portland tidal gate | Time the transit for slack water |
| Submerged wrecks | Coastal lanes in both regions | Keep soundings layer on in low viz |
| Fishing gear obstructions | Off Folkestone, off Binz | Reduce speed, sound 5 blasts |
The TSS crossing is the single most common Career Mode failure trigger. According to community testing on the September 2026 demo, crossing the Dover TSS without a pilot endorsement triggers a steep license-reputation penalty, which in turn locks higher-tier missions. The fix is to call the VTS channel, request a crossing clearance, and use the dedicated inshore zone markers on the chart.
The Dover tidal stream is the second most punishing element because it runs at up to 4 knots at springs, and a poorly timed departure from Ramsgate can put you on the wrong side of the channel in minutes. Players who plan their transits around the published Dover tidal curve report roughly 30% shorter crossing times and noticeably better fuel economy.
Career Mode Routing and Mission Strategy
The Professional Ship Simulator Career Mode ties every mission to a specific map location, which means route planning is not optional. Each Career Mode contract carries a delivery deadline, a fuel budget, a port-of-refuge recommendation, and a weather-window forecast. Reading those four data points together is the difference between a profitable contract and a tow-back to dry dock.
Contract Planning Checklist
| Step | Action | Why It Matters |
|---|---|---|
| 1 | Open the contract chart overlay | Shows start berth, end berth, route suggestion |
| 2 | Check the weather window | Avoids head-sea passages in force 6+ |
| 3 | Note the port-of-refuge | Mandatory emergency stopover in case of breakdown |
| 4 | Calculate fuel burn | Tugboats burn far more in Dover than in the Baltic |
| 5 | Review the harbor approach | Tight turning basins require 20-min pre-arrival setup |
| 6 | File a VTS call if crossing a TSS | Required for Career Mode reputation score |
A useful community trick is to pre-fly every Career Mode route in Free Roam before accepting the contract. Because the Professional Ship Simulator maps do not change between modes, you can scout the harbor entrance at low cost, mark the buoy sequence on a custom chart overlay, and then run the contract with confidence. Players who scout first report almost zero failed contract deliveries in their first 10 hours of Career Mode.
For advanced Career Mode tips, including how to chain cross-region contracts and unlock the Pilotage license, the Professional Ship Simulator starter guide walks through the full progression path. That path matters more than it sounds: the Pilotage unlock gates the cross-region contracts that pay several times a coastwise run, and the guide breaks down the reputation thresholds and dry-dock visits each stage requires. Work out the sequence before you accept a long-haul contract you are not yet licensed to finish.
Frequently Asked Questions
How many regions are in Professional Ship Simulator?
The game ships with two open-world regions: the Rügen coast in the Baltic Sea and the Strait of Dover in the English Channel / North Sea, combining for more than 40 ports. There is no procedural map generation, so every Professional Ship Simulator region uses fixed real-world adapted hydrographic data, and any future map expansion will likely be added as a separate region rather than a procedural extension.
Is the Rügen map based on real geography?
Yes. The Rügen region in Professional Ship Simulator maps is built from adapted 1:50,000 hydrographic chart data, which means coastlines, depths, and buoy positions match the real German Baltic coast with high fidelity. Players familiar with the real island will recognize Sassnitz, Binz, Kap Arkona, and the Schaproder Bodden, although some inland details are simplified for performance.
Do the Dover and Rügen maps connect?
Not directly. The two Professional Ship Simulator regions are separate open-world zones, and you switch between them through the Career Mode contract selector or the Free Roam menu rather than sailing across. The developers at Nautic XP designed this split because the Baltic and the Channel use different chart datums, IALA buoyage systems, and tidal models, so a continuous crossing would be technically inaccurate.
Where do I repair my ship in Professional Ship Simulator?
The dedicated repair harbor in the Rügen region is Stralsund, which offers full dry-dock services for hull and engine work. In the Dover region, players report a dedicated repair option in the larger commercial ports such as Calais and Ramsgate, although availability can depend on the Career Mode license tier you have unlocked. The Professional Ship Simulator locations wiki entry tracks the exact dry-dock list per build.
What is the best starting port for new players?
Most community-tested beginners start in Sassnitz on Rügen because the surrounding waters are sheltered, the tidal range is minimal, and the harbor approach is forgiving. After completing the first license, players typically relocate toward Kap Arkona for pilotage training, and only cross over to the Dover region once they unlock the Pilotage license and a stronger tugboat.