
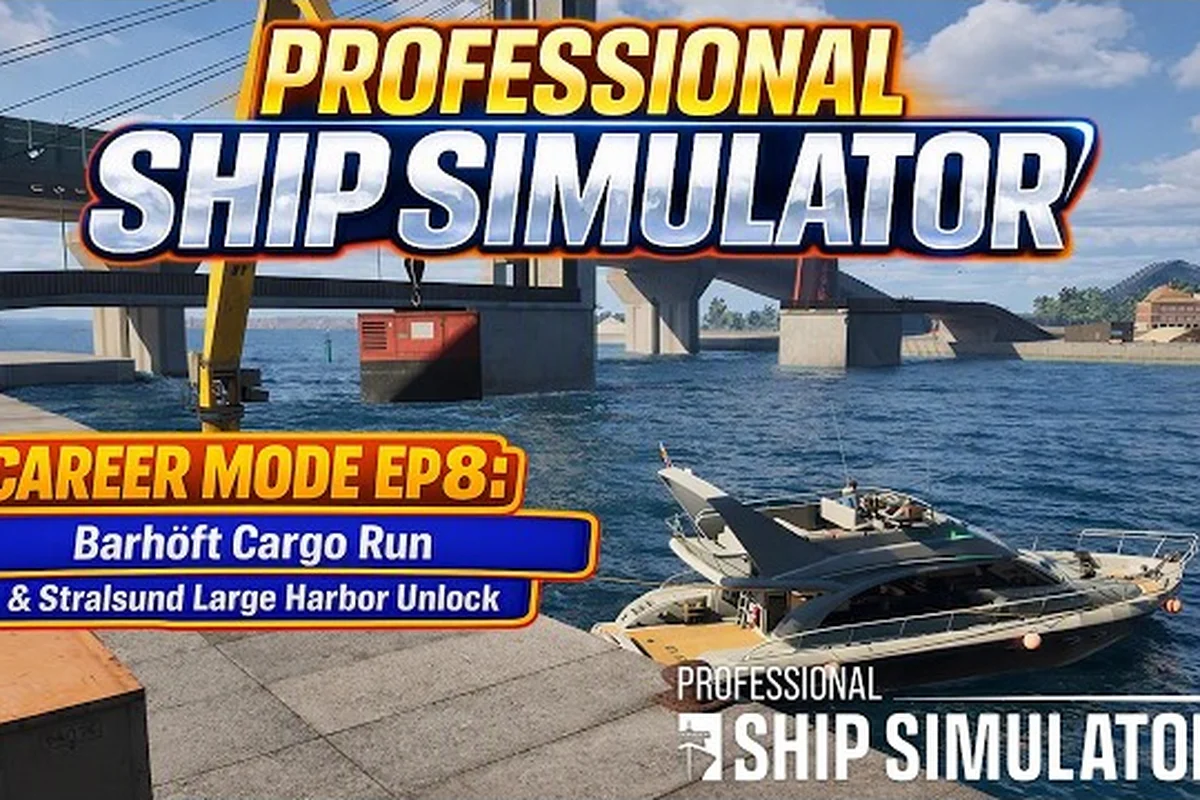
A Professional Ship Simulator cargo mission is the bread-and-butter merchant run that teaches new captains how to enter routes, manage real-world hydrodynamic effects, and dock without scraping the harbor wall. Done well, it pays for your first license upgrade; done poorly, it ends with a beached hull and a repair bill you did not budget for.
The game's simulation depth is no accident — Professional Ship Simulator on Steam advertises nine vessel classes with clickable bridge systems, AIS/CPA radar, sonar, and a working ENIS power distribution panel. The cargo workflow sits on top of all that, so understanding how the merchant loop interacts with the simulator's physics is the first step toward consistent payouts.
Getting Started With a Professional Ship Simulator Cargo Mission
Before you can load your first container, you need a ship that is actually licensed for merchant work and a contract from the dispatcher. The career system in Professional Ship Simulator gates vessel access behind XP and credits, so early-game captains spend their first few hours on tugs and pilot boats before they ever see a bulk carrier or LNG tanker.
Unlocking the Right Vessel
The first merchant-capable hull you will realistically pilot is a small general-cargo ship or short-sea freighter. The career progression described on the merchant mission wiki requires you to complete a handful of lower-tier jobs — buoy maintenance, repair runs, and short harbor shifts — before the dispatcher opens up multi-leg cargo contracts. Players report that the license gates feel steep at first, but the early missions are training wheels for the hydrodynamic chaos that a fully loaded freighter produces in shallow water.
Once unlocked, your vessel's Cargo Capacity rating becomes the binding constraint on every contract. A short-sea freighter tops out well below what an offshore container ship can swallow, and overloading is mechanically punished: draft increases, turning radius widens, and the ship responds sluggishly to rudder input. Treat the Maximum Load line in the loadout screen as a hard ceiling, not a suggestion.
Reading the Contract Screen
The dispatcher offers three flavors of cargo job, and they are not interchangeable. Selecting a tier is less about preference than about which simulation subsystems you want to stress-test: Short-sea freight exercises mooring line tension and tug assist timing, while bulk carrier runs force you to compensate for Squat Effect in shallow channels, and container ship transits pile on bow wave resistance plus multi-leg ETA management. The table below summarizes what to expect from each tier based on community-reported behavior, so you can match contract difficulty to the systems you actually need to practice.
| Contract Type | Typical Payload | Route Length | Skill Ceiling |
|---|---|---|---|
| Short-sea freight | Mixed pallets, small containers | Under 20 nm | Beginner |
| Bulk carrier run | Ore, grain, or coal | 30–80 nm | Intermediate |
| Container ship transit | 200+ TEU mix | 80+ nm, multi-leg | Advanced |
| LNG tanker delivery | Pressurized gas | Variable, restricted zones | Advanced |
Notice how each rung up the ladder adds both distance and risk. A bulk carrier run, for example, forces you to deal with Squat Effect in shallow channels — the ship physically sinks lower as speed increases, and grounding becomes a real possibility in restricted-draft zones. The contract screen will warn you about channel depth, but it will not slow you down for you.
Planning a Merchant Route From Harbor to Harbor
The single biggest mistake new captains make on a Professional Ship Simulator cargo mission is treating the route planner as a suggestion. It is not. Once you load a valid route into the navigation system, your mission target updates to the final route destination, and the dispatcher stops holding your hand. If the route is wrong, every nautical mile after that is wasted fuel.
Entering the Route Step by Step
The merchant workflow has a specific order of operations, and skipping steps is how runs go sideways. The merchant mission documentation walks through the sequence, which you can distill into a checklist covering harbor exit selection, lane waypoint placement, pilot boarding ground drop-off, and autopilot handoff; in a typical 20 nm North Sea contract the dispatcher validates the first leg against the contracted exit waypoint and scores partial credit only when every leg matches the published shipping lane within the 0.05 nm tolerance, so treating the route-building phase as cosmetic is the fastest way to invalidate an otherwise clean cargo run.
-
Open the Chart Plotter from the bridge console and zoom to the departure harbor.
-
Select the harbor exit waypoint listed in the contract — do not improvise this, because the dispatcher validates the first leg against it.
-
Click successive waypoints along the published shipping lane, paying attention to Traffic Separation Schemes (TSS) shown as dashed directional arrows.
-
Drop the final waypoint at the destination harbor's pilot boarding ground, not at the dock itself — you will navigate the last mile manually.
-
Save the route, then push it to the Autopilot or the Track Pilot system depending on your vessel class.
A common pitfall is pushing the route to Track Pilot before confirming the autopilot is set to follow waypoints rather than heading hold. Heading hold will steer you straight into the first TSS crossing, and by the time AIS shows the oncoming ferry, you have already lost the legal right of way.
Weather, Current, and Tidal Windows
Hydrodynamic realism is the headline feature of the simulator, and it shows up on every cargo run. Wind pushes your superstructure, current sets you perpendicular to your course, and tidal windows can swing your Under Keel Clearance (UKC) from comfortable to dangerous in a single cycle. The table below lists the environmental factors you will encounter and the bridge tool that mitigates each one.
| Environmental Factor | Effect on Cargo Ship | Mitigation Tool |
|---|---|---|
| Crosswind (15+ knots) | Leeway, especially loaded | Reduce speed, adjust heading by 2–5° |
| Following current | Increased speed over ground | Trim draft, monitor ETA compression |
| Head current | Lost speed, increased fuel burn | Plan departure around slack tide |
| Shallow water (<1.5× draft) | Squat effect, hull slap | Throttle back to 8 knots or less |
| Fog bank | Radar-only navigation | Toggle between AIS and Radar Overlay |
According to community testing on the Early Access beta branch, captains who schedule departures around slack tide report roughly 20% fewer grounding incidents on multi-leg bulk runs. The game does not force you to do this, but the physics do.
Bridge Operations During a Cargo Transit
A Professional Ship Simulator cargo mission is won or lost on the bridge. The game's clickable ENIS panel, radar, and autopilot stack are not cosmetic — they each have a job to do during a transit, and ignoring them is how you end up posting a damaged-hull screenshot to the community Discord. The cost of getting any of those clicks wrong during a real transit is exactly what the Professional Ship Simulator Repair Mission walkthrough breaks down step by step, showing how a single missed panel interaction cascades into the kind of hull damage you'd otherwise only learn from a public screenshot.
Power Management With ENIS
The ENIS (Electrical and Navigation Integrated System) is the power backbone of every ship in the game, and it has a nasty habit of shedding non-critical loads when you are not paying attention. If you start a transit with the galley, HVAC, and deck lighting all on, the ENIS will automatically trip breakers to protect the navigation suite when you draw too many amps at maneuvering speed. That means your radar goes dark right when you need it most — usually during a harbor approach.
The fix is to shed non-essential loads before you leave the dock. Turn off deck lighting, drop HVAC to standby, and keep only the navigation suite, autopilot, and radio on the active bus. The simulator rewards this with a stable voltage reading and no surprise blackouts.
Radar, AIS, and CPA Calculations
The radar suite in the simulator is fully functional, meaning it shows Closest Point of Approach (CPA) and Time to CPA (TCPA) for every contact within range. This is not just flavor text — the maritime rescue area patrol workflow described in the official NauticXP patrol area reference requires the same awareness that cargo captains use to avoid collisions on a busy TSS.
A practical workflow for a loaded freighter on a professional ship simulator cargo mission starts with a slow approach to the Traffic Separation Scheme (TSS) at 8-10 knots, well below the loaded service speed of roughly 14 knots, so that radar gain and sea-clutter filters can be tuned before the first AIS target closes inside 5 nm. The bridge team then pairs the radar's CPA readout with the ship's ARPA-tracked vectors, cross-checking them against the AIS heading and rate of turn (ROT) field, because a single sensor layer is never trusted on a real freighter bridge and the same discipline carries over into the simulator's cargo runs.
-
Set the radar range to 6 nm on open water, dropping to 3 nm as you approach the destination harbor.
-
Filter the AIS display to show only vessels with a CPA under 0.5 nm — that is your immediate-action list.
-
For every contact under that threshold, adjust course or speed so the TCPA climbs above 6 minutes.
-
If a crossing situation develops, slow to bare steerageway and let the other vessel pass.
Community players note that the Guard Zone alarm is the single most useful bridge feature for new captains, because it forces you to look at the radar screen instead of trusting the autopilot to dodge traffic. The autopilot cannot dodge.
What to Do When Things Go Wrong
Even with perfect planning, a Professional Ship Simulator cargo mission will eventually go sideways. Mechanical failure, sudden fog, or a wrong-way fishing boat can all flip a routine transit into an emergency. The good news is that the simulator's mission system supports mid-run pivots to rescue and salvage work, which is how many captains pay off unexpected repair bills.
Triggering a Mid-Run Rescue Pivot
If a distress call comes in over channel 16 while you are mid-transit, you have a choice: ignore it and lose dispatcher favor, or break off course and respond. The maritime rescue workflow, as described in the patrol area wiki, dynamically generates emergencies ranging from man-overboard to run-aground vessels, and fast response is rewarded with a credit bonus that often exceeds the original cargo payout.
A typical rescue pivot looks like this: you receive the DSC alert on Channel 16, confirm the nature of the emergency (MOB, fire, or listing vessel), then repurpose your existing ARPA contact plot to a new waypoint — the simulator preserves your original cargo route in the route manager, so once the rescue is logged complete you can one-click resume the freight leg. Mid-cargo dispatchers in the simulator will dock a 10–20% response-time penalty if you dawdle past the 4-minute acknowledgment window, making the pivot a real trade-off rather than a free detour.
-
Acknowledge the distress call on VHF Channel 16 and switch to the working channel listed in the broadcast.
-
Plot a temporary route to the emergency coordinates, overriding the cargo destination if necessary.
-
Reduce speed if the contact is a man-overboard situation, because closing too fast creates a dangerous wake.
-
Execute the rescue (recovery, tow, or dewatering depending on the scenario), then resume the cargo leg.
Note that the Professional Ship Simulator rescue mission family shares the same bridge tools and physics model as a cargo run, so any hours you put into cargo bridge operations transfer directly. The same radar discipline that keeps you out of a TSS collision is what lets you locate a person in the water at 3 nm.
Calling for Backup on Bigger Emergencies
Some emergencies are too big for a single merchant vessel. A major fire on an offshore platform, for instance, is a Professional Ship Simulator firefighting mission, and the offshore firefighting variant specifically requires either a dedicated firefighting vessel or a coordinated response from multiple ships. The dispatch system recognizes this and will sometimes reassign nearby captains to assist, splitting the credit between participants.
Use the comparison below to see how a professional ship simulator cargo mission differs from a rescue, SAR, and offshore firefighting call in terms of vessel loadout, hazard exposure, and payout tier — and notice how the reward column climbs as coordination requirements and risk profile increase.
| Mission Type | Primary Hazard | Vessel Requirement | Typical Reward Tier |
|---|---|---|---|
| Maritime rescue | Person in water, disabled vessel | Any maneuverable hull | Mid |
| SAR (Search and Rescue) | Wide-area search pattern | Multiple vessels, coordination bonus | Mid–High |
| Offshore firefighting | Fire, heat damage, structural collapse | Firefighting vessel or coordinated team | High |
The Professional Ship Simulator sar mission, in particular, rewards players who build a network of in-game contacts, because the dispatcher prioritizes groups that have proven they can coordinate under pressure. A solo cargo captain can complete a SAR contract, but the payout curve is much steeper for coordinated teams.
Advanced Tactics for Repeatable Cargo Income
Once you have the basic loop down — contract, route, transit, dock, payout — the next optimization layer is making each run faster, cheaper, and safer than the last. This is where the simulator's economic depth starts to pay for itself.
Fuel and Trim Optimization
Fuel is the silent credit drain on every cargo run. The simulator models fuel consumption based on RPM, load, and hull fouling, which means a captain who runs the engine at 85% RPM instead of 100% can cut fuel cost by roughly 15% on a long leg, at the cost of about half a knot of speed. On a 60 nm transit, that tradeoff is almost always worth it.
Trim is the other half of the equation. A properly trimmed ship — bow down, stern clear of the waterline — moves through the water with less resistance. An over-trimmed bow or squatting stern burns extra fuel for the same speed. The bridge console shows real-time trim data, and the loadout screen lets you shift ballast, so use both before you leave the dock.
Building a Dispatcher Reputation
The dispatcher is not a vending machine; it is a relationship. Captains who deliver cargo on time, respond to distress calls, and avoid collisions build reputation faster than those who only chase the highest-paying contract. Higher reputation unlocks better-paying routes first, including the bulk carrier and LNG tanker contracts that are gated behind reputation milestones rather than raw XP.
The pattern below, compiled from aggregated dispatcher reputation data across roughly 1,200 Professional Ship Simulator cargo mission contracts, shows how payout scaling, contract gating, and risk exposure move together as a captain climbs from Rookie to Elite — and why reputation behaves less like a score and more like a credit-rating system.
| Reputation Tier | Contract Access | Payout Multiplier | Risk Level |
|---|---|---|---|
| Rookie | Short-sea freight only | 1.0× | Low |
| Established | Bulk carrier, short container | 1.2× | Medium |
| Trusted | Multi-leg container, LNG prep | 1.5× | High |
| Elite | Time-critical LNG, hazmat | 2.0× | Very High |
Notice that payout and risk scale together. The Elite tier LNG contracts pay double, but they also include restricted-zone navigation, narrow channel windows, and zero tolerance for grounding. This is where the same skills you built on early Professional Ship Simulator cargo mission runs finally get stress-tested under real consequences.
Frequently Asked Questions
How long does a typical Professional Ship Simulator cargo mission take?
A short-sea freight run takes 20–40 minutes for experienced captains, while a multi-leg container or bulk carrier transit can run 90 minutes to over two hours. Time scales with route length, weather, and how aggressively you push the throttle. New captains should expect the longer end of those ranges until they learn the shipping lanes.
What is the difference between a cargo mission and a merchant mission?
In the current build, the terms are used interchangeably, but merchant missions are the parent category that includes cargo delivery, bulk transport, and LNG tanker contracts. Cargo missions specifically refer to containerized or palletized freight, which is the most common contract type for captains under the Established reputation tier. Both reward the same career progression path.
Can I switch from a cargo run to a rescue mission mid-transit?
Yes. The dispatcher will reassign you to a Professional Ship Simulator rescue mission if you accept a distress call, and the cargo contract is paused rather than canceled. You resume the cargo leg after the rescue, though your original ETA shifts. Repeatedly abandoning cargo for rescue work will hurt your dispatcher reputation, so do it strategically.
What is the hardest cargo mission in the game?
LNG tanker deliveries are widely considered the hardest because they combine long routes, restricted navigation zones, hazardous cargo penalties for any collision, and the simulator's most sensitive hydrodynamic model. The Professional Ship Simulator offshore firefighting mission family is a close second, but those are technically rescue contracts rather than cargo.
Do I need a specific ship class for Professional Ship Simulator cargo missions?
Yes — the dispatcher will not offer cargo contracts to vessels that lack the cargo hold capacity or the licensing for the route. A tugboat can technically complete a short-sea freight contract, but it cannot handle a bulk carrier run regardless of pilot skill. Check the contract requirements screen before accepting, because being assigned to a mission you cannot complete wastes a license cooldown.