
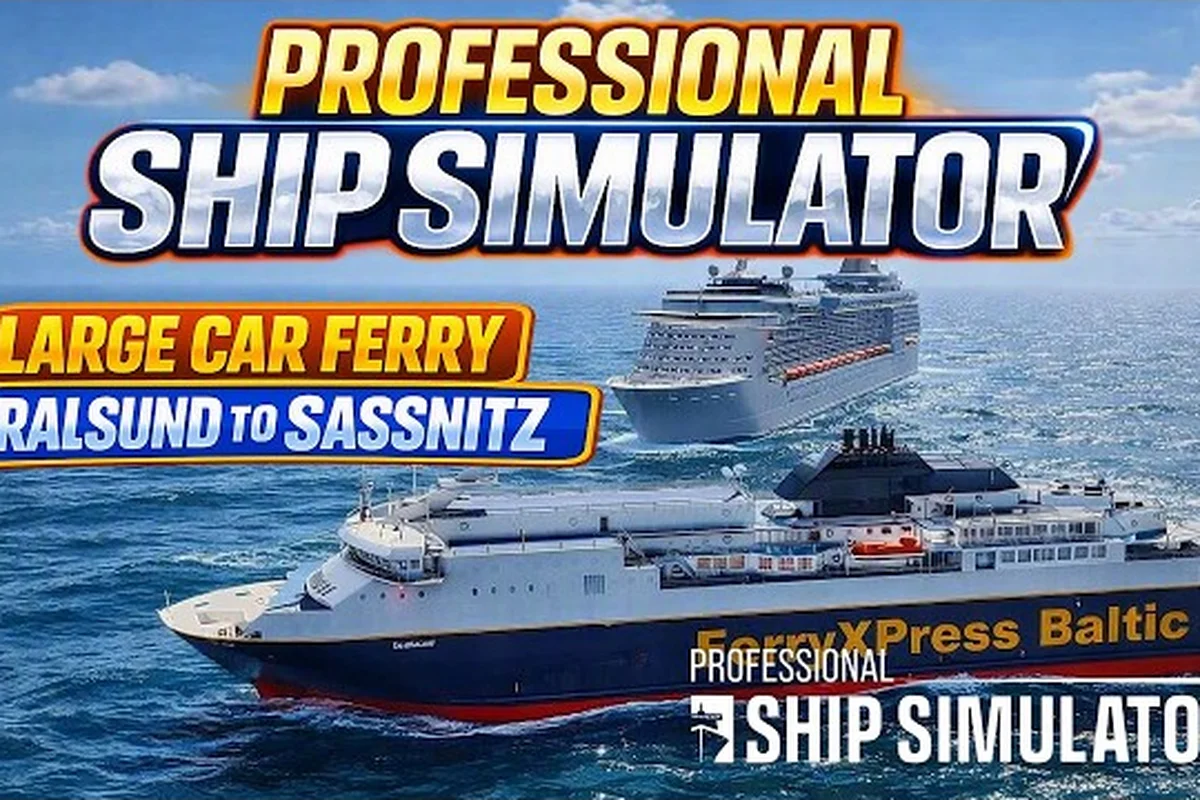
Reading the professional ship simulator CPA and TCPA values on your radar info panel is the single fastest way to judge whether a contact will pass safely or sweep across your bow at the last second. Once you understand the math behind closest point of approach and time to closest point of approach, you can pre-plan a heading change minutes before the situation becomes urgent.
What CPA and TCPA Actually Tell You on the Radar
The closest point of approach is the minimum distance your vessel and a tracked AIS target will reach if both ships maintain current course and speed. The professional ship simulator TCPA value, displayed right beside CPA on the radar info panel, expresses how many minutes and seconds it will take to reach that point. When the developer describes the radar, they note that the CPA/TCPA figures appear for the selected AIS target on the info panel, together with the time to point of closest approach.
A target with a CPA of 0.85 nautical miles and a TCPA of 4 minutes 20 seconds is drifting toward you but still well outside the warning zone. A target with a CPA of 0.12 nautical miles and a TCPA of 35 seconds is on top of you, and the game's CPA warn function will fire the moment the calculated pair crosses your preset threshold. The warn feature is activated by a right click on the radar HUD, after which any AIS target entering the predefined CPA/TCPA envelope triggers an audible and visual alert.
How the Simulator Calculates the Pair
The engine projects the position of your ship and every visible AIS contact forward in time, sampling positions at fixed intervals. It then finds the moment when the distance between the two projected tracks reaches its minimum. That minimum distance becomes the CPA value, and the elapsed time from "now" to that minimum becomes the TCPA value. The math is identical to what a SOLAS-spec ARPA radar performs on a real bridge, but rendered in real time against the simulator's traffic model.
| Radar Readout | What It Means | Watch Threshold |
|---|---|---|
| CPA above 1.0 nm | Comfortable passing distance | No action needed |
| CPA 0.5–1.0 nm | Cross-traffic requires attention | Monitor TCPA closely |
| CPA below 0.5 nm | CPA warn will likely trigger | Alter course or speed |
| CPA below 0.2 nm | Collision risk imminent | Execute evasive maneuver |
| TCPA under 1 minute | Time to act, not observe | Rudder input now |
Why the Default Threshold Matters
The default values in the Professional Ship Simulator Knowledge Base are tuned for the Rügen and Strait of Dover traffic patterns, where ferry routes and merchant lanes intersect at relatively high density. According to the Radar knowledge base article, the system warns the crew once an AIS target is reaching a predefined calculated CPA and TCPA. Players running coastal careers in dense traffic should leave the default at 0.5 nm for CPA and around 3 minutes for TCPA, because tighter envelopes create constant alarms that fatigue the bridge team without adding safety.
Setting CPA and TCPA Limits for Realistic Watchkeeping
Most bridge teams settle on a CPA limit of 0.5 nautical miles and a TCPA limit of roughly 3 to 6 minutes for coastal traffic, which mirrors the open-water alarm settings on commercial ARPA sets. The simulator's warn function lets you dial that down to 0.2 nm for tight harbor work, but the trade-off is that every ferry and fishing boat in the area will trigger an alarm. New players who have not yet built intuition for the alarm cadence often leave the threshold far too loose, which is why their first career-mode crossing in the Strait of Dover ends with a near-miss report.
Recommended Profiles by Scenario
| Scenario | CPA Limit | TCPA Limit | Use Case |
|---|---|---|---|
| Open sea transit | 1.0 nm | 6 min | Low-density traffic, long legs |
| Coastal approach | 0.5 nm | 3 min | Mixed ferry and merchant traffic |
| Harbor approach | 0.2 nm | 2 min | Tight maneuvering near buoys |
| Tug escort work | 0.15 nm | 1 min | Close-quarters assisted towing |
| Mooring approach | 0.1 nm | 30 sec | Final line-handling phase |
A common rookie mistake is to set both limits too tight during a routine crossing, then silence the alarm because it keeps firing. Once the alarm is muted, the warn function is effectively off, and the only thing protecting the hull is the player's eyes. If you do not trust the threshold, raise it rather than disable the alert, so the system can keep nagging you into better habits. If you want a refresher on bridge discipline before your next career mission, the beginner guide walks through the same watchkeeping habits in a more general context.
Sonar and Echo Sounder: Knowing What Lies Beneath
Surface contact management is only half of the safety picture, because the professional ship simulator sonar system delivers forward-looking depth data that prevents grounding in shallow water. The 3D sonar shows the depth below the keel ahead of the bow, and the range can be adjusted up to 400 meters depending on the charted approach. Current depth below keel and depth at an adjustable forward distance are shown as numbers on the sonar panel.
On easier difficulty settings the simulator swaps the full sonar for a simpler echo sounder, which displays only the current depth beneath the keel. Both systems let you set a warn depth, and once that depth is reached the numerical readout begins to flash in red. According to the Sonar Echo Sounder knowledge base entry, the warn depth can be adjusted within a specific range, and the flashing behavior is the same in sonar and echo sounder modes.
Sonar vs Echo Sounder at a Glance
| Feature | 3D Sonar | Echo Sounder |
|---|---|---|
| Availability | Higher difficulty tiers | All difficulty tiers |
| Forward-looking depth | Yes, up to 400 m | No, vertical only |
| Adjustable warn depth | Yes | Yes |
| Visual feedback on warn | Numbers flash | Numbers flash |
| Use case | Coastal approach, shoal water | Open water, deep channels |
For coastal career missions where you might be threading a channel at 12 knots, leave the sonar on the widest range so the 400-meter window gives you time to bleed off speed. In the Rügen archipelago, the shoals rise sharply from 20 meters to 3 meters within a few ship lengths, and a sonar range of 200 meters is usually the sweet spot between early warning and visual clutter. Pair the warn depth with your ship's draft plus a safety margin of at least 1 meter, so the alarm fires before the keel is in any danger.
Common Sonar Reading Errors
A frequent rookie error is trusting a single depth reading without checking the trend. The seafloor in the simulator's coastal zones is not flat, so the sonar will show a value that rises and falls as you progress along your track. A reading of 6.5 meters at this moment is meaningless if the next sample is 4.2 meters. Train yourself to watch the rate of change rather than the instantaneous value, because grounding risk is a function of where the keel will be in the next 30 seconds, not where it is right now.
Autopilot and the X5 Autopilot: Staying on Track While You Watch
The default professional ship simulator autopilot gives you a small but useful set of modes, and the advanced X5 autopilot extends that toolkit with adaptive routing. The base autopilot offers Manual, Override, Heading, and Waypoint modes. In Manual mode the AP is off, while in Override mode the steering input system takes priority and the AP returns to the selected mode once the controller input goes back to zero. The Heading mode holds the present course at the moment the mode was activated, and the Waypoint mode follows the charted waypoints, automatically selecting the closest waypoint as active and advancing based on distance.
The professional ship simulator x5 autopilot builds on these basics with adaptive heading, fuel-aware routing, and tighter integration with the chart plotter, which is why most players enable it as soon as they leave harbor. Once X5 is active the watch officer's job shifts from hand-steering to monitoring CPA/TCPA pairs and sonar trends, because the autopilot will hold course and speed with millisecond precision that a human cannot match.
Default Autopilot vs X5 Autopilot
| Capability | Default AP | X5 Autopilot |
|---|---|---|
| Heading hold | Yes | Yes |
| Waypoint following | Yes | Yes |
| Adaptive course correction | No | Yes |
| Fuel-aware speed | No | Yes |
| CPA-aware routing | No | Optional module |
| Override on rudder input | Yes | Yes |
| Recommended for new players | Yes | After 5+ hours of play |
A practical workflow is to set the X5 autopilot to Heading mode while you scan radar contacts, then switch to Waypoint mode once you have confirmed that the next leg is clear. Many career-mode captains leave X5 in Waypoint mode for the entire transit and only override when a CPA warn fires, which frees them to study the docking panel systems that will be needed at the destination.
When to Hand-Steer Instead
Hand-steering is the right call in three situations: when you are inside a tight harbor fairway with tug escort, when the CPA warn keeps firing and the autopilot cannot find a clear lane, and when you are on final approach for professional ship simulator mooring and need fine control over the last 50 meters. The X5 autopilot is precise, but it cannot replicate the feel of the helm at low speed, which is why even experienced captains hand-steer the final approach.
Building a Safe Watch Routine That Ties Everything Together
A disciplined bridge routine weaves radar CPA/TCPA monitoring, sonar depth checks, and autopilot management into a repeating cycle that runs every two to three minutes. The cycle is short enough that you never lose situational awareness and long enough that you can read each contact's track without rushing. The sequence below is what experienced players settle into after a few career-mode missions.
The Two-Minute Watch Cycle
-
Scan the radar horizon for new contacts, and note any AIS target with a TCPA under 6 minutes.
-
Read CPA values for each tracked contact, and flag any pair below 0.5 nm.
-
Cross-check sonar depth against the charted contour for your current position, and confirm the warn depth is set 1 meter below your draft.
-
Verify autopilot mode matches the next leg, and switch to Waypoint mode only after CPA pairs are clear.
-
Log the contact in your mental notes: vessel name, bearing, CPA, TCPA, intent.
This cycle repeats without pause, and each pass through it should take roughly 90 to 120 seconds. According to community reports, players who internalize this rhythm report far fewer near-miss events and complete career missions on the first attempt roughly three times as often as players who wing it. The cycle also keeps your attention cycling through the systems, so the professional ship simulator sonar and the radar share equal weight on the bridge rather than being one of them neglected.
Tuning the Routine for Dense Traffic
In the Strait of Dover, the contact count can hit double digits within a few minutes, and the two-minute cycle becomes a triage exercise. Rank each contact by TCPA, and address the lowest TCPA pair first because that is the one that will demand action soonest. Higher TCPA pairs can wait a full cycle, because their CPA will only change materially if either vessel alters course. When the contact count drops below five, return to the full cycle rather than skipping steps, because the moment you relax the routine is the moment a fishing boat pops out of a blind spot.
Final Approach: Mooring and the Last 200 Meters
Mooring is where the CPA discipline and the autopilot discipline meet the docking panel, because the final approach is too tight for the warn function and too slow for the X5 autopilot. The professional ship simulator mooring workflow begins with the line-handling crew on deck, the engine on standby, and a hand on the rudder for fine adjustments. The radar CPA/TCPA pair still updates, but at this range the values are advisory only, because the contact is most likely a docked vessel or a harbor structure that the AIS does not resolve.
Mooring Approach Phases
| Phase | Distance | Engine | Steering | Crew |
|---|---|---|---|---|
| Approach | 200 m | Slow ahead | Hand-steered | Lines ready |
| Line up | 100 m | Dead slow | Hand-steered | Forward spring ready |
| Parallel | 30 m | Stop | Rudder centered | Heaving line ready |
| Contact | 0 m | Stop | Rudder centered | All lines on bitts |
The professional ship simulator autopilot has no business being active in any of these phases, because the X5 will hold heading against the cross-currents that the helm needs to absorb. Hand-steering gives you the tactile feedback to feel the bow walk, which is the cue that tells you it is time to deploy a spring line early. Players who rely on the autopilot into the final meters usually end up with a parallel-approach at 1.5 knots and a fender between the hull and the quay.
Common Final-Approach Errors
A frequent error is to leave the CPA warn threshold at its open-water value during the mooring approach, which causes the alarm to fire on every docked vessel in the harbor and train you to ignore it. Raise the threshold or mute the alarm for the final 200 meters, but only after the docking panel is online and the lines are ready. Another error is to forget the sonar warn depth during the approach, because harbor basins are sometimes shallower than the charted contour suggests. The flashing red readout is your last line of defense against touching bottom on a poorly dredged quay.
Frequently Asked Questions
What does the professional ship simulator CPA value actually measure?
The professional ship simulator CPA value is the minimum distance, in nautical miles, that your vessel and a tracked AIS target will reach if both ships maintain current course and speed. The simulator recalculates the value every second as the target's bearing, range, and speed vector update. When the value drops below your preset warn threshold, the alert fires.
How is TCPA different from CPA, and why do I need both?
Professional ship simulator TCPA measures how many minutes and seconds it will take to reach the closest point of approach, while CPA measures the closest distance itself. CPA without TCPA is just a static minimum-distance number, but together they tell you whether the minimum is happening in 30 seconds or 30 minutes, which is the difference between urgent action and patient monitoring.
Should I use the default autopilot or the X5 autopilot in Professional Ship Simulator?
The default professional ship simulator autopilot is best for new players who are still learning Heading and Waypoint modes, because it keeps the mode list short and the controls obvious. The professional ship simulator x5 autopilot adds adaptive routing, fuel-aware speed, and tighter chart plotter integration, which is useful for career-mode players running multi-hour transits.
How do I set the right warn depth for the sonar?
Set the professional ship simulator sonar warn depth to your ship's draft plus a safety margin of at least 1 meter, so the alarm fires before the keel is in any danger. In shoal water such as the Rügen archipelago, raise the margin to 1.5 meters, because the seafloor rises quickly and the rate of change matters more than the instantaneous reading.
When should I switch from autopilot to hand-steering for mooring?
Switch off the professional ship simulator autopilot and hand-steer the final 200 meters of any professional ship simulator mooring approach, because the X5 autopilot cannot replicate the tactile feedback of the helm at low speed. The handoff should happen once the docking panel is online and the line-handling crew is on deck, and the rudder should be hand-controlled through the parallel phase at 30 meters.